The first time I encountered an in situ filtration system was during a critical bioprocessing project where contamination issues were derailing our timelines. We had been struggling with sample preparation bottlenecks for months when our lab director suggested an automated solution. What initially seemed like an intimidating technological upgrade became a turning point in our workflow efficiency—but only after navigating the learning curve of proper installation.
Installing filtration systems directly into your process line represents a significant shift from traditional manual filtration methods. Rather than batch processing samples and risking contamination during transfers, these systems integrate seamlessly into your existing workflow. The benefits extend well beyond convenience; they can fundamentally transform your data quality and reproducibility.
When implemented correctly, in situ filtration systems minimize sample handling, reduce contamination risks, and dramatically improve workflow efficiency. However, achieving these benefits hinges entirely on proper installation—a process that requires attention to detail and technical precision.
Understanding In Situ Filters: More Than Just Filtration
Before diving into the installation process, it’s essential to understand what makes in situ filtration systems unique. Unlike traditional filtration methods that require sample removal and manual processing, in situ filters operate within the experimental environment itself.
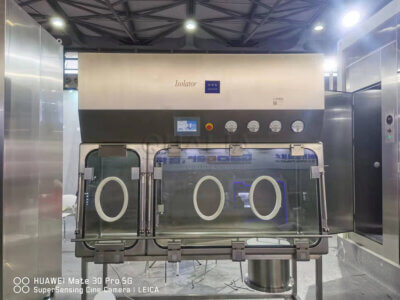
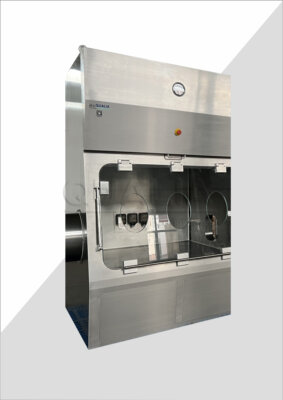
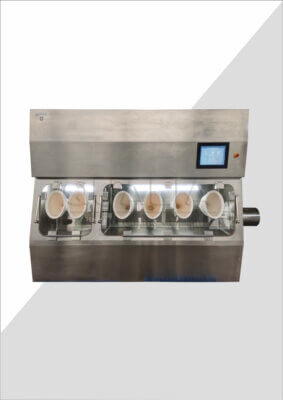
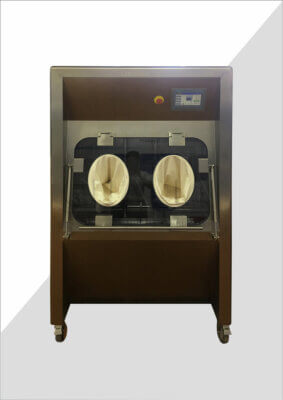
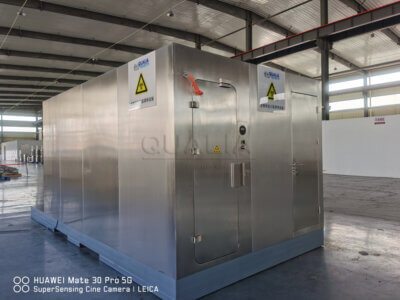
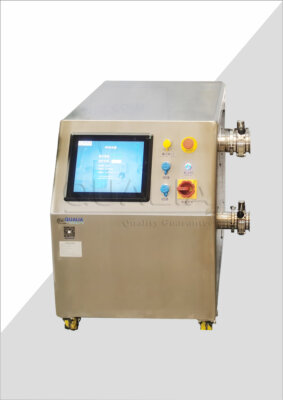
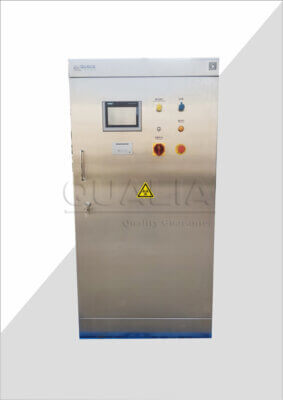
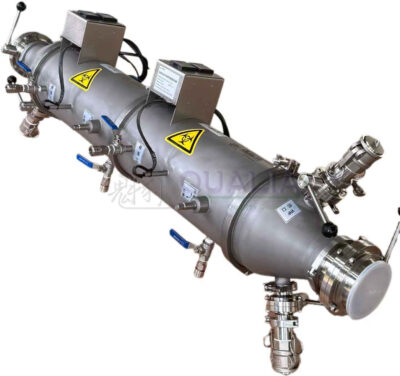
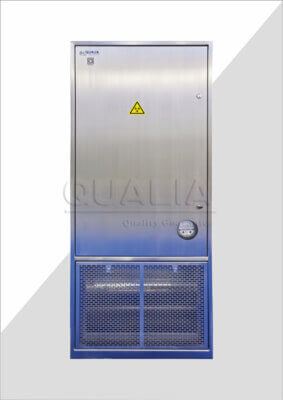
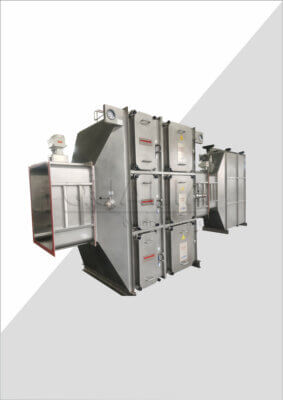
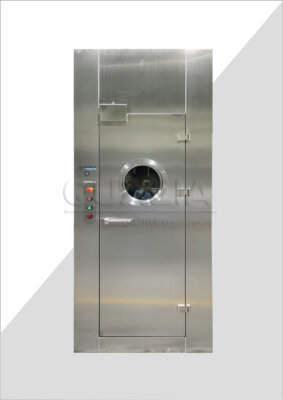
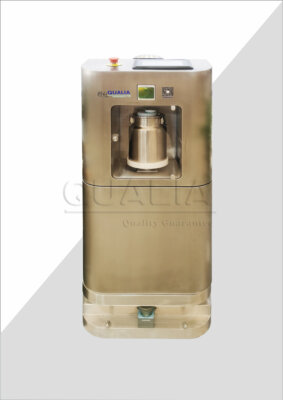
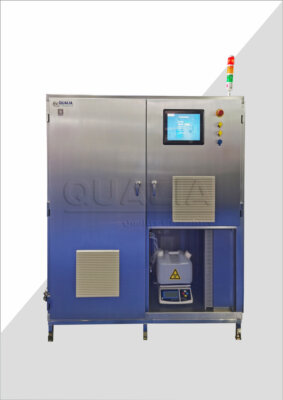
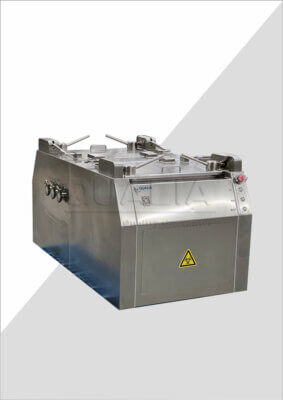
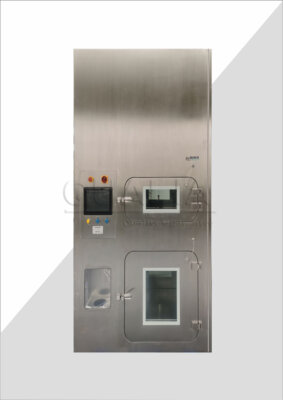
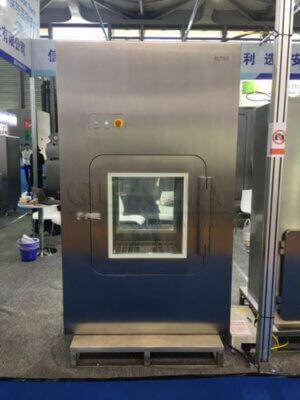
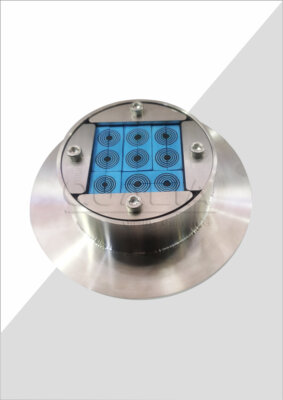
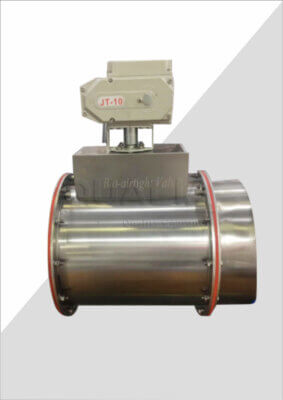
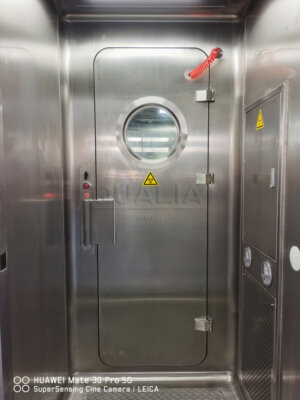
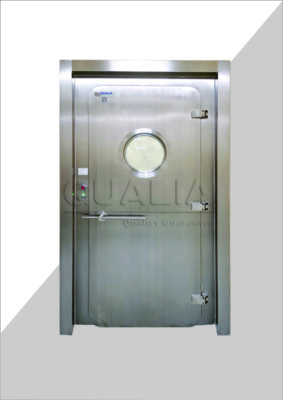
At their core, these systems consist of several key components: the filtration chamber, membrane filter elements, fluid connections, control systems, and supporting framework. QUALIA has engineered their system with a focus on workflow integration, designing components that adapt to various laboratory configurations while maintaining sterile operation.
What distinguishes advanced systems like the AirSeries in situ filtration system is their ability to maintain sample integrity throughout the entire process. Traditional filtration methods introduce multiple transfer steps, each creating an opportunity for contamination or sample loss. By contrast, in situ systems keep samples contained within a sealed environment.
Dr. Elena Rodriguez, director of bioprocessing at Northeast Pharmaceutical Research, explains: “The greatest advantage of modern in situ filtration isn’t just time savings—it’s the elimination of variables that affect experimental reproducibility. When samples never leave the primary vessel, we see significantly more consistent results across batches.”
This integration capability extends beyond just physical connection. Modern in situ filtration systems include monitoring capabilities that provide real-time data on filtration parameters, pressure differentials, and flow rates. These metrics aren’t just operational indicators—they become valuable data points for process validation and quality assurance.
The membrane technology itself has evolved significantly in recent years. Current systems utilize advanced composite membranes with precisely engineered pore structures that maintain consistent performance under varying pressure conditions. This consistency is crucial during installation, as it ensures predictable performance regardless of where in your process the system is integrated.
Preparing for Installation: Essential Groundwork
The success of your in situ filter installation begins long before you open the equipment packaging. Proper preparation can mean the difference between a smooth integration and weeks of troubleshooting.
Site Assessment and Requirements
Start by thoroughly evaluating your installation location. Key considerations include:
- Available space dimensions (both footprint and height clearance)
- Proximity to required utilities (electrical, pneumatic, network)
- Environmental factors (temperature, humidity, vibration)
- Accessibility for maintenance and operation
In my experience managing a microbiology lab upgrade, we initially selected a location based solely on available bench space, only to discover that the ambient vibration from nearby centrifuges would affect sensitive pressure readings. A comprehensive site assessment would have identified this issue earlier.
Required Tools and Materials
| Tool/Material | Purpose | Specifications |
|---|---|---|
| Torque wrench | Precise connection tightening | Calibrated to manufacturer specifications (typically 10-50 Nm range) |
| Sanitization supplies | Surface preparation | 70% isopropyl alcohol, lint-free wipes |
| Leveling tools | Ensure proper system orientation | Digital level with 0.1° precision |
| Connection fittings | System integration | Matching your specific process line specifications |
| Documentation materials | Record installation parameters | Calibrated measurement devices, validation forms |
| Personal protective equipment | Installer safety | Powder-free nitrile gloves, safety glasses, lab coat |
Safety Considerations
Before installing your in situ filtration system, establish proper safety protocols. This includes:
- Verifying electrical safety of the installation area
- Ensuring proper ventilation if working with volatile materials
- Reviewing chemical compatibility with system components
- Establishing clean zone protocols to prevent contamination
- Documenting emergency shutdown procedures
Michael Chen, a biosafety officer I consulted during our installation, emphasized that “many labs focus exclusively on operational aspects during installation while overlooking critical safety integration points. Your filtration system becomes part of your overall safety infrastructure—plan accordingly.”
One often-overlooked preparation step is staff training. Even if external technicians perform the installation, your team needs to understand basic operation and troubleshooting. Schedule training sessions before installation begins to ensure a smooth transition.
The 7-Step Installation Process: A Comprehensive Guide
Installing an advanced in situ filtration system requires a methodical approach to ensure optimal performance. Let’s break down each step of the process.
Step 1: Site Preparation
Begin by preparing the physical installation location. This involves:
- Clearing the installation area of all unnecessary equipment and materials
- Cleaning and sanitizing all surfaces according to laboratory protocols
- Marking utility connection points and verifying their functionality
- Establishing a clean zone using appropriate containment methods
- Documenting pre-installation environmental conditions
During an installation at our cell culture facility, we discovered that establishing a temporary positive pressure environment around the installation area significantly reduced contamination issues during setup. This simple addition—using portable HEPA filtration units—proved invaluable for maintaining sterility.
Step 2: System Unpacking and Verification
Proper handling during unpacking prevents damage and contamination:
- Inspect the exterior packaging for damage before opening
- Unpack components in a clean environment, documenting each item
- Verify all components against the manufacturer’s checklist
- Inspect all parts for damage, particularly connection points and sealing surfaces
- Organize components in order of assembly to streamline the process
“The verification stage isn’t just about checking a list,” notes Dr. James Wilson, bioprocess validation specialist. “It’s your first opportunity to identify potential issues before they’re integrated into your system. Take detailed photographs of components for your validation documentation.”
Step 3: Base Assembly and Positioning
The foundation of your system determines its stability and alignment:
- Position the main support structure according to your pre-determined layout
- Level the base using adjustable feet and precision leveling tools
- Secure the base to the installation surface if required by your protocol
- Verify stability and vibration resistance before proceeding
- Document final positioning measurements for future reference
A critical but often overlooked aspect is vibration isolation. In our genomics facility installation, we found that micro-vibrations from nearby equipment affected pressure consistency. Installing vibration-dampening pads beneath the base assembly resolved this issue.
Step 4: Filter Component Installation
This stage requires particular attention to sterility and proper alignment:
- Sanitize hands and don fresh gloves before handling filter components
- Verify filter specifications and orientation before installation
- Install membrane cartridges following manufacturer’s torque specifications
- Connect sensor systems and verify initial readings
- Document serial numbers and specifications of all installed components
The filtration system’s unique design allows for customization based on your specific application. During this stage, you’ll configure the filter arrangement according to your process requirements. Be particularly careful with O-rings and sealing surfaces, as microscopic damage can compromise system integrity.
Step 5: Connection to Fluid Systems
Integrating with your existing process requires precision:
- Identify all connection points in your process line
- Sanitize connection points according to your established protocols
- Install appropriate fittings and connectors
- Connect fluid pathways following the documented flow direction
- Secure all connections to specified torque requirements
When connecting our fermentation monitoring system, we discovered that installing small in-line pressure gauges at key points provided valuable troubleshooting data during subsequent operation—a modification well worth considering during your installation.
Step 6: Testing and Calibration
Verify system functionality before operational use:
| Test Parameter | Acceptance Criteria | Troubleshooting Action |
|---|---|---|
| Pressure integrity | Holds pressure within ±5% for 30 minutes | Check connection torque, inspect seals |
| Flow rate verification | Within 10% of design specifications | Verify absence of restrictions, check pump calibration |
| Sensor calibration | Readings match validation standards | Recalibrate according to manufacturer protocol |
| Control system function | All automated sequences execute correctly | Review programming, check sensor inputs |
| Alarm function | All alarm conditions trigger appropriate responses | Verify threshold settings, test notification systems |
Step 7: Validation and Documentation
Complete the installation with comprehensive documentation:
- Compile all installation records including component specifications
- Photograph the completed installation from multiple angles
- Document all calibration data and initial performance metrics
- Update standard operating procedures to include the new system
- Complete validation protocols according to your quality requirements
“Installation qualification isn’t complete until you’ve run a full process simulation,” advises Sarah Johnson, process validation engineer. “Document system performance under actual operating conditions before considering the installation complete.”
Common Installation Challenges: Anticipating and Resolving Issues
Even with careful planning, installing in situ filters presents several common challenges. Being prepared for these potential issues can significantly reduce downtime.
Space and Integration Constraints
Laboratory spaces are rarely designed with filtration system installation in mind. Working with limited space requires creative solutions:
- Consider vertical mounting options where horizontal space is limited
- Use flexible connection systems to accommodate awkward access points
- Develop custom mounting brackets for non-standard surfaces
- Create detailed spatial models before finalizing placement decisions
During our installation of an advanced filtration system in a confined biosafety cabinet, we discovered that rotating the assembly 30 degrees from the standard orientation provided better ergonomic access while maintaining necessary clearances.
Sterility Maintenance
Maintaining sterility during installation presents significant challenges:
- Schedule installations during facility downtime to minimize contamination risks
- Create temporary clean zones using portable barrier systems
- Use rapid-action sanitizers on tools and components throughout installation
- Consider using dedicated installation tools that remain within the clean zone
- Implement progressive cleaning protocols between installation stages
One effective technique we’ve employed is the “clean as you go” approach—sanitizing each component immediately before installation rather than preparing all components at once, which can lead to recontamination during extended installations.
Calibration Consistency
Achieving consistent calibration across interconnected systems requires special attention:
- Use a single set of calibrated reference instruments throughout the process
- Document environmental conditions during calibration procedures
- Implement gradual pressure testing rather than immediate full-system pressurization
- Verify calibration settings through multiple test cycles
- Allow sufficient equilibration time between calibration adjustments
The most frequent issue I’ve encountered is premature calibration—attempting to fine-tune systems before they’ve reached thermal equilibrium with the environment. Allowing proper stabilization time, though it extends the installation process, prevents numerous recalibration cycles later.
Optimizing Performance After Installation
Installing your in situ filtration system is just the beginning. Optimizing its performance requires ongoing attention and specific strategies.
Initial Performance Monitoring
The first week after installation provides critical insights into system function:
- Document baseline performance metrics including pressure differentials, flow rates, and filtration clarity
- Monitor for subtle variations that might indicate potential issues
- Compare actual performance against theoretical specifications
- Track filtration times across multiple cycles to establish consistency
- Inspect for any signs of stress or wear on connection points
These initial readings become your reference point for future performance evaluation. I’ve found that creating visual dashboard displays of these metrics helps teams quickly identify deviations from expected performance.
Establishing Maintenance Protocols
Develop proactive maintenance schedules based on:
| Maintenance Task | Frequency | Critical Performance Indicators |
|---|---|---|
| Seal inspection | Weekly | Visual integrity, pressure retention |
| Sensor calibration | Monthly | Drift from established baselines |
| Membrane inspection | Per manufacturer recommendation | Discoloration, pressure differential increase |
| Complete system sanitization | Application-dependent | Bioburden testing results, recovery rates |
| Software/firmware updates | As released | Control system responsiveness, new feature availability |
| Comprehensive validation | Annually | Overall system performance against specifications |
User Training and Standard Operating Procedures
The effectiveness of your in situ filtration system depends heavily on user proficiency:
- Develop multilevel training programs for both operators and maintenance personnel
- Create visual quick-reference guides for common procedures
- Establish clear troubleshooting pathways for various alert conditions
- Document specific operational parameters for different process applications
- Schedule regular refresher training to maintain best practices
“The most sophisticated filtration technology can be undermined by inadequate user training,” notes Dr. Rebecca Tanner, bioprocessing education specialist. “Your investment in system installation should be matched by appropriate investment in personnel competency.”
Case Study: Transforming Research Capabilities Through Proper Installation
When the University of Western Biosciences upgraded their cellular biology department, they faced significant challenges integrating advanced filtration into their existing workflows. Their experience provides valuable insights into successful implementation.
Background and Challenges
The department had been struggling with sample contamination and inconsistent results across multiple research teams. Traditional filtration methods were creating bottlenecks in their high-throughput screening processes. Additionally, their limited laboratory space presented significant installation challenges.
“We knew we needed an in situ solution, but weren’t confident about integrating it into our existing setups without disrupting ongoing research,” explained Dr. Marcus Chen, department chair.
Implementation Approach
The installation team took a phased approach:
- They began with a comprehensive workflow analysis, identifying critical integration points where in situ filtration would provide maximum benefit
- Rather than a single large installation, they designed a distributed system with multiple filtration nodes at key process points
- They established a prototype installation in one laboratory section, allowing for testing and refinement
- The installation team created custom mounting solutions that utilized vertical space rather than valuable bench area
- They implemented a shadow-training program where staff worked alongside installation technicians throughout the process
Results and Lessons Learned
The carefully planned installation yielded impressive results:
- Sample processing time decreased by 64% across all department workflows
- Contamination incidents dropped from 8.2% to under 0.5% of processed samples
- Researcher time spent on filtration activities decreased by 81%, freeing valuable resources
- The specialized mounting solutions ultimately required 42% less laboratory space than initially estimated
“The key insight from our experience was that installing in situ filters isn’t just a technical process—it’s a workflow transformation,” reflected Dr. Chen. “By focusing on process integration rather than just equipment installation, we achieved benefits beyond our initial expectations.”
The most valuable lesson came from their incremental approach. By establishing a prototype installation first, they identified several critical adjustments before full deployment, saving significant rework and downtime.
Future Trends in In Situ Filtration Technology
The field of in situ filtration continues to evolve rapidly. Understanding these emerging trends can help inform your installation planning and future upgrade paths.
Integration with Digital Laboratory Systems
The next generation of filtration systems features enhanced connectivity:
- Real-time data streaming to laboratory information management systems (LIMS)
- Predictive maintenance algorithms that anticipate component failure
- Remote monitoring capabilities for off-site troubleshooting
- Integration with digital twins for process simulation and optimization
When planning your installation, consider future connectivity requirements and ensure your infrastructure can support these emerging capabilities.
Advanced Materials and Designs
Material science advances are transforming filter performance:
- Nanoengineered membranes with programmable pore structures
- Self-cleaning surface technologies that extend operational lifespans
- Biomimetic filtration surfaces that reduce fouling and protein adhesion
- Modular designs that allow component upgrades without complete system replacement
Dr. Katsumi Nakamura, materials scientist at Advanced Filtration Institute, suggests that “laboratories installing systems today should consider flexibility for membrane technology upgrades as a key selection criterion.”
Sustainability Considerations
Environmental impact is increasingly important in laboratory operations:
- Reduced water consumption in sanitization cycles
- Energy-efficient pumping and pressure control systems
- Recyclable or biodegradable filter components
- Reduced chemical usage in cleaning protocols
These sustainability features not only reduce environmental impact but often translate to lower operational costs over the system lifetime.
Making Your Installation a Success: Key Takeaways
Installing in situ filters represents a significant investment in your laboratory’s capabilities, but the process requires careful planning and execution. Throughout my years implementing these systems across various research environments, I’ve found several principles consistently lead to successful outcomes.
First, recognize that installation is not merely a mechanical process but a workflow integration. Understanding how the filtration system will interact with your existing processes before beginning installation prevents costly rework and operational disruptions.
Second, invest appropriately in validation and documentation. The time spent thoroughly documenting your installation and establishing performance baselines pays dividends when troubleshooting issues or training new personnel. As one colleague aptly noted during a particularly challenging installation: “The quality of your documentation reflects the quality of your science.”
Third, approach installation as an iterative process rather than a one-time event. Build in checkpoints for evaluation and adjustment rather than rushing to complete all steps in sequence. This measured approach allows for corrections before problems cascade through the system.
Finally, remember that the true measure of a successful installation isn’t just functional equipment, but improved research outcomes. Monitor not only system performance metrics but also the impact on your overall laboratory operations and data quality.
By following the structured process outlined in this guide, you’ll be well-positioned to install your in situ filtration system effectively, avoiding common pitfalls while maximizing the benefits of this powerful technology.
Frequently Asked Questions of Installing In Situ Filters
Q: What are in situ filters, and why are they important for stormwater management?
A: In situ filters are devices installed directly into the ground to manage stormwater runoff, capturing contaminants and improving water quality. They are crucial for reducing pollution from urban areas like roads and industrial sites.
Q: What are the key components of an in situ filter system?
A: Key components include an inlet for stormwater entry, a sedimentation chamber for settling large particles, a filtration chamber with sand or other media, and an underdrain system for water collection. These components work together to effectively clean stormwater.
Q: How do you prepare the site for installing in situ filters?
A: Preparing the site involves clearing the area, excavating a chamber pit, and installing a basecourse before placing the filter chamber. It’s essential to ensure the area is free from traffic and people during installation.
Q: What are the steps involved in installing in situ filters?
A: The installation process includes:
- Excavating and preparing the site.
- Placing the filter chamber.
- Connecting inlet and outlet pipes.
- Installing filter materials like sand.
- Ensuring watertightness and completing the setup.
Q: How do you ensure the effectiveness of in situ filters after installation?
A: Effectiveness is ensured by checking for watertightness, properly connecting all components, and maintaining the filter media. Regular inspections and maintenance are crucial for optimal performance.
Q: What are common challenges faced during the installation of in situ filters?
A: Common challenges include ensuring watertightness, managing site access, and maintaining filter material integrity. Proper planning and adherence to design specifications can mitigate these issues.
External Resources
- In Situ Filter Installation Guide – This resource provides a comprehensive guide on installing in situ filters, covering preparation, installation steps, and post-installation checks.
- In Situ Filter Systems – Offers insights into the design and installation of in situ filter systems for environmental remediation.
- Groundwater Remediation Technologies – Discusses various technologies, including in situ filters, used for groundwater remediation.
- In Situ Treatment Technologies – Provides an overview of in situ treatment technologies, including filters, for contaminated soil and groundwater.
- Environmental Remediation Solutions – Offers solutions for environmental remediation, including the use of in situ filters for contaminant removal.
- In Situ Remediation Techniques – Covers various in situ remediation techniques, highlighting the role of filters in groundwater cleanup.
Related Contents:
- In Situ vs Ex Situ Filtration: Which is Right for You?
- Calibrating Biosafety Isolators: Essential Steps
- The Ultimate Guide to In Situ Filtration Systems
- 5 Ways In Situ Filtration Enhances Process Safety
- What Are the Key Benefits of In Situ Filtration?
- Calibrating OEB4/OEB5 Isolator Monitoring Instruments
- In Situ Filtration in Pharmaceutical Manufacturing
- Air Shower Filters: When and How to Replace
- Essential BIBO System Maintenance Checklist

