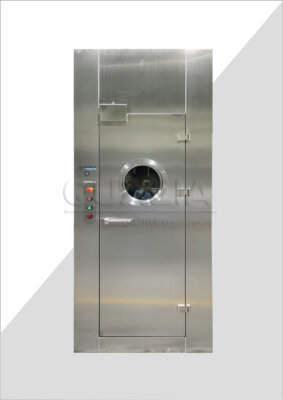
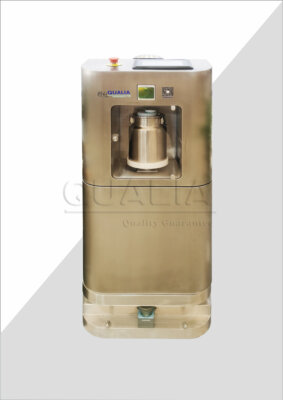
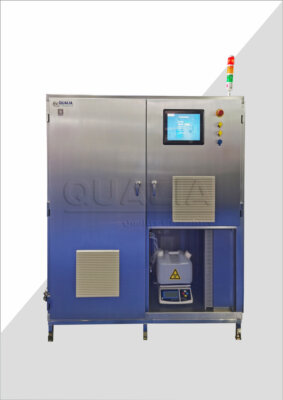
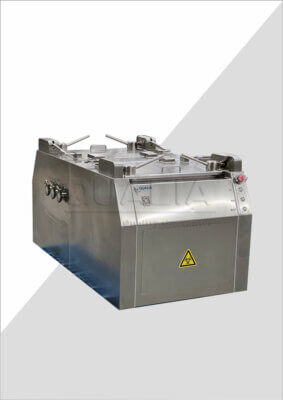
Understanding OEB5 Isolators and Their Critical Role
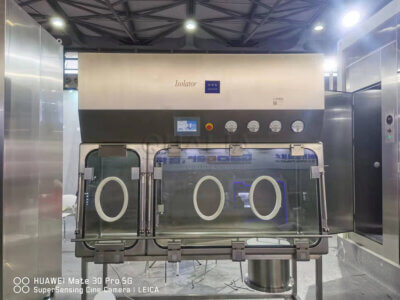
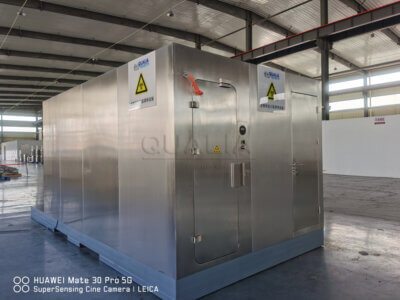
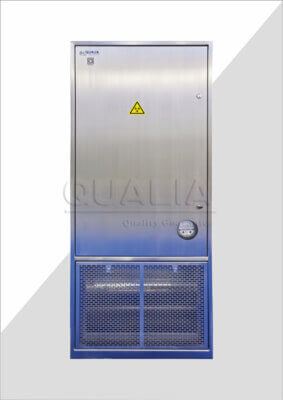
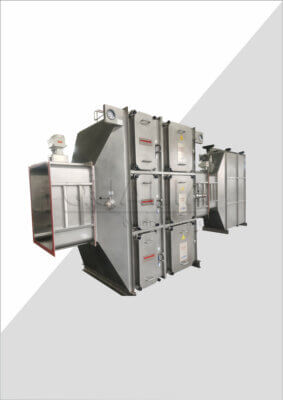
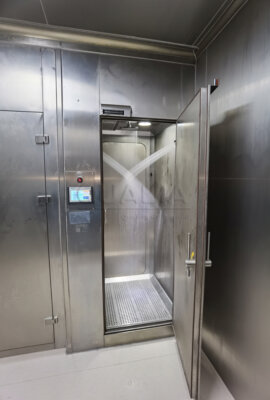
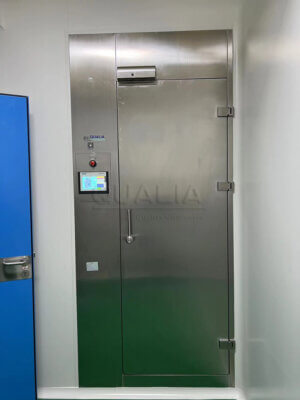
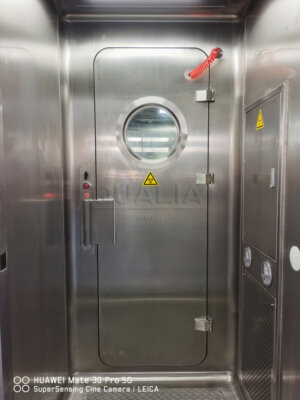
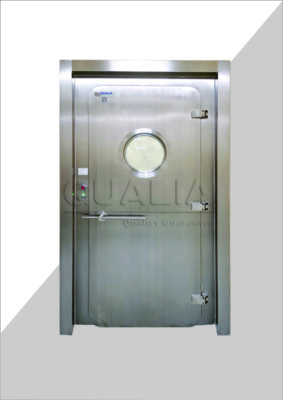
I was recently touring a pharmaceutical manufacturing facility when I noticed an impressive containment system that stood out from everything else on the production floor. The lead engineer explained it was their newly installed OEB5 isolator—the facility’s most crucial safety investment of the year. What struck me wasn’t just the sophisticated engineering, but how it transformed their ability to handle highly potent active pharmaceutical ingredients (HPAPIs) that would have been dangerous or impossible to work with otherwise.
OEB5 isolators represent the highest level of containment technology in the pharmaceutical and biotechnology industries. The OEB (Occupational Exposure Band) classification system ranges from OEB1 to OEB5, with OEB5 indicating substances requiring the most stringent containment measures—those with occupational exposure limits below 1 μg/m³. These are compounds that can be hazardous even in microscopic quantities.
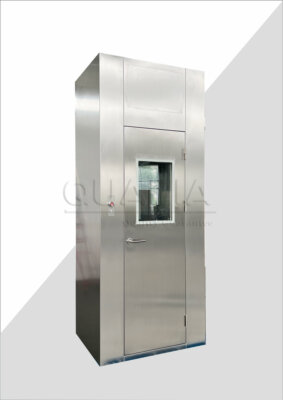
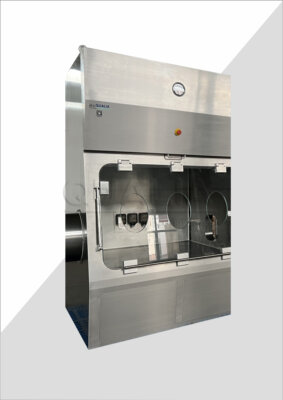
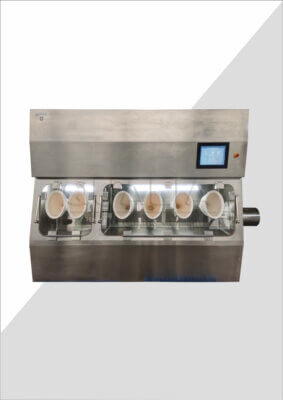
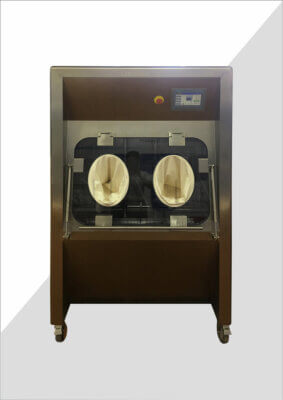
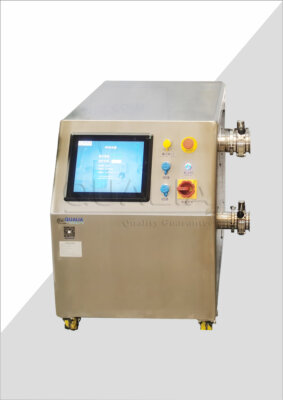
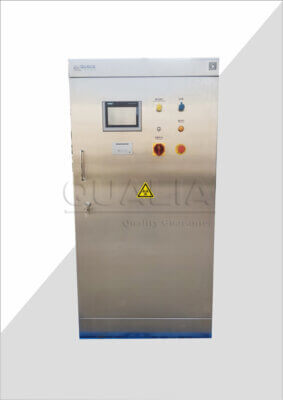
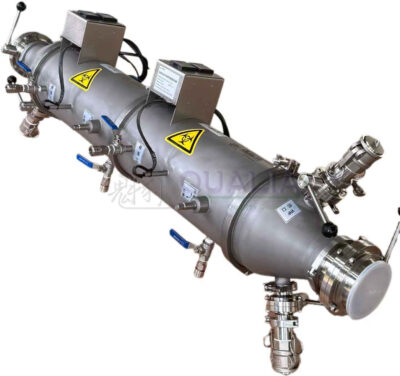
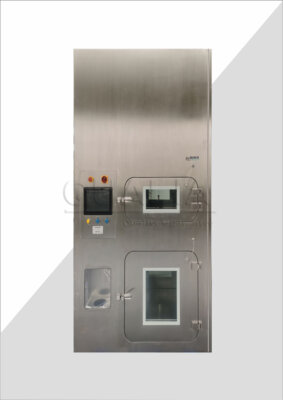
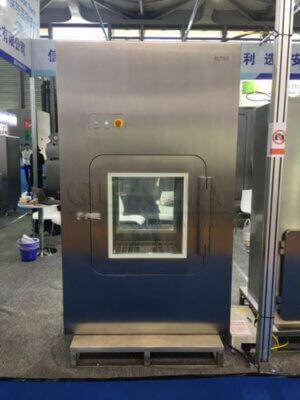
The sophisticated engineering behind these systems isn’t immediately obvious. QUALIA and other manufacturers have developed these isolators to create negative pressure environments that physically separate operators from potent compounds while still allowing precise manipulation through glove ports and transfer systems. What makes proper installation so critical is that even minor flaws in setup can compromise the entire containment strategy.
A well-installed OEB5 isolator typically provides:
- Containment performance to nanogram levels
- Ergonomically designed workspaces that reduce operator fatigue
- Integrated waste handling systems
- Sophisticated air management with HEPA filtration
- Decontamination capabilities
- Robust monitoring systems
The stakes for correct installation couldn’t be higher. Dr. James Morelli, a containment specialist I consulted with last year, emphasized this point: “With OEB5 materials, we’re often dealing with compounds where a fraction of a milligram could have severe health consequences. The installation process isn’t just about getting equipment running—it’s about creating a system where the risk of exposure is virtually eliminated.”
Before diving into the installation process, it’s worth noting that OEB5 isolators aren’t uniform products. They’re typically customized solutions that match specific process requirements. The advanced OEB5 isolator systems vary in configuration based on the manufacturing processes they’ll support—whether that’s weighing and dispensing, chemical synthesis, or formulation activities.
Pre-Installation Considerations
Before a single tool is lifted for the OEB5 isolator installation, substantial groundwork must be laid. I’ve witnessed several facilities rush this phase only to face costly modifications later.
Site Assessment and Requirements
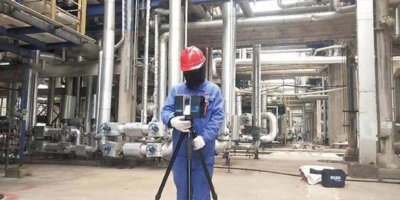
The facility layout analysis is your first critical step. OEB5 isolators require significant space—not just for the unit itself but for operational clearance and maintenance access. During a recent consultation at a midsize pharmaceutical company, we realized their initially planned location would have restricted access to critical valve connections. This would have made routine maintenance nearly impossible without disrupting production.
Floor loading capacity must be verified by structural engineers, as these systems often weigh several thousand pounds. One facility I visited had to reinforce their flooring with additional supports after discovering the existing structure couldn’t safely bear the load of their new containment system.
Utility requirements deserve careful attention:
- Electrical: Most OEB5 isolators require dedicated electrical circuits with uninterruptible power supply (UPS) backup
- Compressed air: Clean, dry air at specific pressure ranges
- Exhaust systems: Often connected to the facility’s HVAC with specific airflow requirements
- Process gases: Nitrogen or other inert gases may be needed
- Water: For cleaning systems or waste handling
| Utility Type | Typical Requirements | Common Pitfalls |
|---|---|---|
| Electrical | 208-480V, 3-phase, 30-100A depending on configuration | Inadequate circuit capacity; lack of emergency backup |
| Compressed Air | 80-100 psi, oil-free, moisture-free | Contamination; pressure fluctuations; insufficient volume |
| Exhaust | 250-500 CFM, connection to facility HVAC | Inadequate negative pressure; lack of redundancy |
| Process Gases | Nitrogen at 40-60 psi, 99.99% purity | Improper connections; inadequate supply volume |
Regulatory Compliance Planning
Your installation must comply with a complex web of regulations, including:
- Good Manufacturing Practice (GMP) requirements
- Local building and safety codes
- Environmental regulations regarding air emissions
- Pharmaceutical inspection conventions like PIC/S
- Specific industry standards for containment (ISPE guidelines)
Documentation preparation should begin well before installation. This includes:
- User Requirement Specifications (URS)
- Installation Qualification (IQ) protocols
- Operational Qualification (OQ) protocols
- Performance Qualification (PQ) protocols
- Standard Operating Procedures (SOPs)
- Preventive maintenance schedules
A regulatory specialist I worked with, Teresa Chang, puts it this way: “The documentation burden for OEB5 systems is substantial, but it serves a purpose. Every checked box represents a safety measure that protects workers and ensures product integrity. Starting this process after installation is exponentially more difficult.”
Team Preparation
Installing an OEB5 isolator isn’t a job for general contractors. You’ll need:
- Factory-certified technicians (usually provided by the manufacturer)
- Facility engineers familiar with your systems
- Quality assurance personnel
- Safety officers
- Production representatives who will use the system
One manufacturing director I spoke with admitted, “Our biggest mistake was not involving our operators early in the process. The system worked perfectly from a technical standpoint, but we had to modify several aspects because the workflow didn’t match our operators’ needs.”
Training should begin before installation, not after. This includes:
- Basic containment principles
- Specific system operation
- Emergency procedures
- Maintenance protocols
- Decontamination procedures
The 7-Step OEB5 Isolator Installation Process
Installing an OEB5 containment isolator system requires meticulous attention to detail and adherence to a structured process. Having overseen several installations, I can attest that deviating from these steps often leads to problems that compromise safety and performance.
Step 1: Site Preparation and Room Readiness
The first phase involves preparing the physical space where your isolator will operate. I once consulted on a project where this step was rushed, resulting in a six-week delay when they discovered their ceiling height was inadequate for the isolator’s exhaust connections.
Key activities include:
- Clearing the installation area completely
- Installing reinforced flooring if required
- Ensuring proper ceiling height clearance (typically minimum 9-10 feet)
- Preparing utility connections per manufacturer specifications
- Establishing clean conditions to prevent contamination during installation
- Installing appropriate lighting for the work area
- Setting up temporary controlled access to limit traffic during installation
Site preparation typically takes 2-3 weeks depending on the extent of modifications required. Your HVAC systems may need adjustment to maintain appropriate temperature, humidity, and pressure differentials. Document these baseline environmental conditions before proceeding.
Step 2: Delivery, Inspection, and Staging
When your high-containment OEB5 isolator arrives, don’t rush to unpack it. This critical inspection phase can prevent major headaches later:
- Verify shipping conditions upon arrival (temperature monitoring logs, shock indicators)
- Document any visible damage to packaging
- Create a staging area with controlled access
- Carefully unpack while photographing each step
- Inspect all components against the Bill of Materials (BOM)
- Verify all certification documents are present
- Check for any shipping damage to critical components
- Organize small parts in labeled containers
The staging process should include creating a clean path for moving large components. In one facility I visited, they constructed temporary clean corridors using plastic sheeting and HEPA-filtered air to maintain cleanliness while moving components through less-controlled areas of their facility.
Step 3: Positioning and Initial Assembly
This phase requires precision and patience:
- Use laser levels to mark exact placement positions on the floor
- Position the main isolator frame using appropriate lifting equipment
- Level the frame using adjustable feet (document all measurements)
- Install sidewalls and main structural elements
- Connect modular sections if applicable
- Install view screens and access ports without finalizing seals
- Position internal fixtures per design specifications
The assembly team should work methodically, following manufacturer drawings exactly. This isn’t the time for improvisation. During one installation I observed, the team discovered a slight dimensional discrepancy between the facility drawing and the actual space. Rather than force-fitting, they consulted with the manufacturer’s engineers to develop a proper solution.
Step 4: Utility Connections and Systems Integration
With the physical structure in place, the focus shifts to connecting the isolator to facility systems:
- Electrical connections to main power and controls
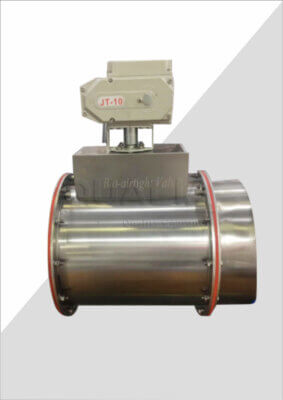
- Exhaust system connections with appropriate dampers
- Process gas lines installation with proper regulators
- Compressed air connections with filtration
- Water and drainage systems if applicable
- Automation system connections
- Integration with building management systems
- Installation of monitoring sensors
This phase often involves multiple contractors working in coordination. Clear communication is essential. I recommend daily coordination meetings during this phase to ensure all systems are being integrated correctly and to address any conflicts that arise between different utility requirements.
Step 5: Glove Port Installation and Barrier Systems
The containment integrity of your isolator depends heavily on this step:
- Install glove ports per manufacturer specifications
- Properly mount gloves with appropriate gauntlets
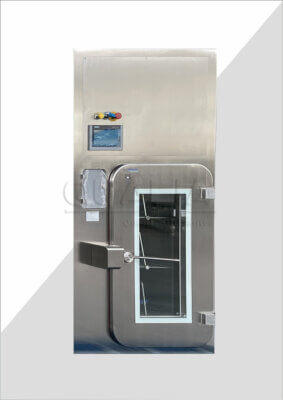
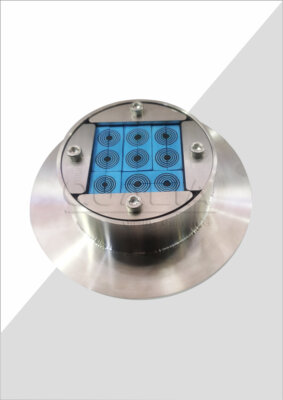
- Install transfer systems (airlocks, rapid transfer ports, etc.)
- Set up waste handling systems
- Install pass-through chambers
- Set up material entry and exit systems
- Verify all seals are properly seated
Pay particular attention to the ergonomics of glove port positioning. During one installation, operators were invited to test positioning before final mounting. This led to height adjustments that significantly improved usability and reduced operator fatigue.
| Component | Installation Considerations | Verification Method |
|---|---|---|
| Glove Ports | Ergonomic height, proper spacing, secure mounting | Visual inspection, pressure decay testing |
| Transfer Systems | Correct alignment, door sealing, interlock function | Smoke testing, mechanical verification |
| View Screens | Distortion-free mounting, secure sealing, clarity | Visual inspection, leak testing |
| Pass-Through Chambers | Interlock functionality, gasket integrity, pressure control | Operational testing, pressure differential verification |
| Waste System | Secure connections, containment integrity, ease of operation | Visual inspection, containment testing |
Step 6: Control System Setup and Commissioning
Modern OEB5 isolators rely on sophisticated control systems:
- Install control panels in accessible locations
- Connect all sensors to monitoring systems
- Program operational parameters per process requirements
- Set up alarm systems and thresholds
- Configure data logging and reporting
- Implement user access controls
- Connect to facility monitoring networks if applicable
The control system should undergo extensive testing before proceeding. This includes simulating fault conditions to verify appropriate responses. During one installation, we discovered that an emergency shutdown didn’t properly seal a transfer port—a critical safety issue that was resolved before final commissioning.
Step 7: Final Testing and System Verification
The culmination of the installation process involves comprehensive testing:
- Perform pressure decay testing on the complete system
- Conduct smoke studies to visualize airflow patterns
- Test all interlocks and safety features
- Verify containment performance using surrogate materials
- Test emergency procedures and backup systems
- Conduct operational simulations with production team
- Verify all documentation is complete and accurate
This final verification step should never be rushed. It establishes the baseline for your system’s performance and confirms that the installation meets all safety and regulatory requirements.
One crucial test is the HEPA filter integrity test, which ensures your filtration systems are performing to specification. I’ve seen installations where seemingly minor leaks around filters compromised the entire containment strategy. These issues are much easier to address before the system goes into production.
Testing and Validation Procedures
After completing the physical installation of your OEB5 isolator, a rigorous testing and validation process begins. This isn’t merely a regulatory checkbox—it’s your assurance that the system will perform safely when handling highly potent compounds.
Leak and Integrity Testing
The isolator must function as a completely sealed environment. Testing methods include:
Pressure Decay Testing: The isolator is pressurized (both positive and negative pressure tests are typically performed), and pressure readings are monitored over time. Any significant drop indicates a leak. During one validation I observed, a tiny leak around an electrical penetration was detected that would have been impossible to spot visually.
Smoke Visualization: Using a safe smoke generator, airflow patterns are visualized to confirm proper directional flow and identify any unexpected turbulence or dead zones. This test is particularly revealing—I’ve seen cases where seemingly minor obstructions created recirculation patterns that could potentially compromise containment.
PAO (Poly-Alpha Olefin) Testing: Used specifically for HEPA filter integrity testing, this method introduces a challenge aerosol upstream of the filter and measures penetration downstream. Any reading above acceptable limits indicates a compromised filter or seal.
Performance Qualification
Performance qualification tests whether the isolator performs its intended function under actual or simulated conditions:
Surrogate Powder Testing: Using a safe surrogate compound with similar physical characteristics to the actual product, handling operations are simulated while air sampling determines containment effectiveness. The industry standard for OEB5 isolators typically requires containment performance below 1 μg/m³.
Operational Simulation: Production personnel perform all intended operations while qualified observers evaluate ergonomics, workflow efficiency, and potential containment risks.
Recovery Testing: After intentional contamination with a surrogate, the time required for the system to return to baseline cleanliness is measured. This is crucial for understanding changeover requirements.
Documentation Requirements
Documentation must be meticulous and comprehensive:
- Installation Qualification (IQ): Verifies that all components are installed correctly per specifications
- Operational Qualification (OQ): Confirms all systems operate as designed across normal and challenge conditions
- Performance Qualification (PQ): Demonstrates the isolator performs effectively in its intended application
- Factory Acceptance Test (FAT) records: Shows the system met specifications before shipment
- Site Acceptance Test (SAT) results: Confirms performance after installation
- Calibration certificates: For all measuring devices and sensors
One validation specialist I worked with had an excellent approach: “We document as if someone completely unfamiliar with the system will need to reproduce our entire validation process five years from now, with only our documentation as a guide.”
Regulatory Compliance Verification
Your validation must demonstrate compliance with:
- 21 CFR Part 11 for electronic records (if applicable)
- EU GMP Annex 1 for sterile manufacturing (if applicable)
- ISPE containment guidelines
- Company-specific requirements
- Local regulatory requirements
This phase often involves formal reviews by quality assurance personnel and sometimes mock inspections to prepare for regulatory agency visits. A thorough validation package serves as your evidence of due diligence in protecting workers, the environment, and product quality.
Common Installation Challenges and Solutions
Having witnessed numerous OEB5 isolator installations across different facilities, I’ve observed recurring challenges that can impact project success. Understanding these potential pitfalls before you begin can save significant time and resources.
Space and Facility Constraints
Challenge: Existing facilities rarely have perfect spaces for OEB5 isolator installation. Low ceiling heights, inadequate floor loading capacity, and limited access for large components are common issues.
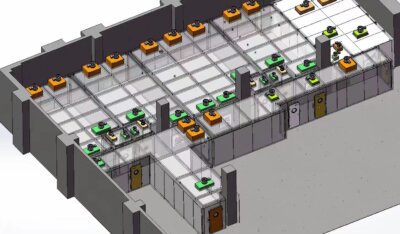
Solution: Conduct thorough facility assessment with dimensional drawings and 3D modeling before finalizing your isolator design. In one renovation project I consulted on, we created a detailed 3D model that revealed a potential collision between the isolator exhaust and an existing HVAC duct—something not evident from 2D drawings. This allowed for design modifications before manufacturing began.
For older facilities with structural limitations, consider modular isolator designs that can be assembled in sections. Some manufacturers offer “flat-pack” options specifically for challenging installation spaces.
HVAC Integration Difficulties
Challenge: OEB5 isolators require precise control of airflow, pressure differentials, and exhaust handling. Integrating with existing HVAC systems often reveals incompatibilities.
Solution: Commission a detailed HVAC assessment early in the planning process. One pharmaceutical manufacturer I worked with discovered their existing exhaust system couldn’t handle the additional load from a new isolator suite. Rather than a costly HVAC overhaul, they implemented a dedicated recirculating filtration system for the isolators, with only critical exhaust directed to the main system.
Additionally, consider seasonal variations in your HVAC capabilities. A system that functions perfectly in winter might struggle during summer peak loads. Design with worst-case scenarios in mind.
Utility Supply Limitations
Challenge: Inadequate electrical capacity, compressed air volume, or other utilities can halt installation progress.
Solution: Conduct utility mapping and capacity analysis during early planning. Create a comprehensive utility requirements document that includes:
- Peak demand requirements
- Normal operating requirements
- Quality specifications (e.g., compressed air purity)
- Redundancy needs
One biotech company discovered too late that their electrical distribution panels couldn’t support their new isolator systems. They ultimately needed a six-week production shutdown to upgrade electrical infrastructure—a delay that could have been avoided with proper assessment.
Workflow and Ergonomic Issues
Challenge: Even perfectly installed isolators can fail if they don’t support efficient workflows or create ergonomic strain for operators.
Solution: Involve end users early and throughout the design and installation process. Mockups and simulations before finalizing designs can reveal issues that aren’t apparent on drawings. I’ve seen simple adjustments—like changing the height of a transfer port by just two inches—make dramatic differences in operator comfort and efficiency.
Consider conducting ergonomic assessments with different-sized operators to ensure the design accommodates your workforce. Remember that operators working in isolator gloves experience fatigue much faster than when performing the same operations with bare hands.
Contamination Control During Installation
Challenge: Maintaining appropriate cleanliness during installation is difficult, especially in active facilities.
Solution: Create temporary controlled environments around the installation area. Plastic barriers with HEPA-filtered air supply can maintain cleanliness even when installing in active production facilities.
Develop specific installation SOPs that include gowning requirements, material disinfection procedures, and tool management protocols. During a recent installation in an active API facility, the team established a multi-stage material transfer process that included cleaning and disinfection steps for all components entering the installation area.
Vendor Coordination Complications
Challenge: OEB5 isolator installations typically involve multiple vendors and contractors, creating coordination challenges.
Solution: Designate a dedicated project manager with authority to coordinate all vendors. Establish clear communication channels and regular coordination meetings. Create a detailed responsibility matrix that clearly defines which vendor handles each aspect of the installation.
One effective approach I’ve seen is establishing a digital collaboration platform where all vendors can access current drawings, specifications, and schedules. This dramatically reduced coordination issues on a complex multi-vendor installation project.
Maintenance Best Practices After Installation
The long-term success of your OEB5 isolator depends heavily on proper maintenance after installation. Based on my experience working with various pharmaceutical manufacturers, I’ve observed that facilities with comprehensive maintenance programs achieve significantly better containment performance and experience fewer unplanned downtimes.
Establishing a Preventive Maintenance Schedule
Your preventive maintenance program should be based on:
- Manufacturer recommendations
- Risk assessment of critical components
- Historical failure data (as it accumulates over time)
- Production schedule considerations
A typical maintenance schedule for OEB5 isolators includes:
Daily Checks:
- Visual inspection of gloves and seals
- Differential pressure verification
- Basic cleaning of external surfaces
- Verification of alarm systems
Weekly Tasks:
- More thorough cleaning of accessible surfaces
- Inspection of transfer systems
- Filter differential pressure monitoring
- Verification of emergency systems
Monthly Activities:
- Glove replacement or testing
- Seal inspection and lubrication
- Airflow verification
- Control system diagnostic checks
Quarterly Procedures:
- Comprehensive system testing
- Cleaning of less accessible components
- Calibration of monitoring instruments
- Review of trending data for early problem identification
Annual Maintenance:
- Complete performance requalification
- HEPA filter integrity testing
- Comprehensive mechanical inspection
- Control system validation
Critical Components Requiring Special Attention
Based on failure analysis from multiple installations, these components demand particular vigilance:
Glove and Sleeve Assemblies: These are typically the weakest point in the containment barrier. Implement a regular inspection and replacement program based on usage patterns. One manufacturer I worked with developed a novel UV inspection technique that could detect microscopic glove damage before conventional methods would reveal problems.
HEPA Filters: Monitor differential pressure across filters to detect loading. Schedule replacements based on pressure trends rather than fixed time intervals. This approach prevented an unexpected filter failure at a facility handling highly potent compounds.
Seal Integrity: Door gaskets, transfer port seals, and other flexible barriers degrade over time. Implement a regular inspection and replacement program. Consider using infrared imaging during pressure tests to detect subtle leakage that might not register on instrumentation.
Control Systems: Backup critical programs and parameters. Establish a regular verification procedure for control systems, particularly after software updates or facility-wide IT changes. After one facility lost all custom isolator programming during a system crash, they implemented a rigorous backup protocol.
Documentation and Record-Keeping
Maintain comprehensive records including:
- All maintenance activities performed
- Parts replaced
- Test results
- Performance trends
- Calibration certificates
- Personnel performing maintenance
- Deviations and corrective actions
Digital maintenance management systems can simplify this process while providing valuable trending data. One containment manager explained to me, “Our predictive maintenance program is only as good as our historical data. Detailed records allowed us to identify subtle patterns that predicted HEPA filter failures approximately three weeks before they would have occurred.”
Operator Training for Basic Maintenance
While specialized maintenance requires qualified technicians, operators should be trained to perform basic checks and recognize early warning signs of potential issues. This includes:
- Visual inspection methods
- Documentation of observations
- Emergency response procedures
- Proper cleaning techniques that won’t damage sensitive components
Create clear escalation protocols so operators know exactly when and how to report potential issues. During a site visit, I was impressed by a color-coded system one facility used—green tags for routine observations, yellow for items needing attention at next maintenance, and red for issues requiring immediate assessment.
Case Study: Successful OEB5 Isolator Implementation
Last year, I had the opportunity to observe a particularly well-executed OEB5 isolator installation at a mid-sized pharmaceutical company transitioning from OEB3 containment to OEB5 for a new highly potent oncology compound. Their experience offers valuable insights into the real-world application of the principles discussed in this article.
Project Background and Challenges
The company needed to install two OEB5 isolators for powder handling and dispensing operations in an existing facility originally designed for less potent compounds. Key challenges included:
- Limited ceiling height in the existing processing area
- Need to maintain partial production during installation
- Integration with an older building management system
- Stringent timeline to meet upcoming clinical trial manufacturing demands
- Staff with limited experience in high-containment operations
Pre-Installation Planning
The project team spent nearly three months in the planning phase—a decision that initially faced resistance from management eager to begin production but ultimately saved considerable time.
They began with a comprehensive site assessment, creating detailed 3D models of the installation space that revealed potential clearance issues with existing ductwork. Rather than proceeding with a standard isolator design, they worked with their selected vendor to create a modified design with a lower profile exhaust handling system.
Cross-functional involvement was a key success factor. The team included:
- Engineering and maintenance staff
- Production operators
- Quality assurance specialists
- Safety personnel
- Manufacturing leadership
- Validation experts
The facility engineering manager noted: “Having operators involved from the beginning completely changed our approach. They identified workflow issues in the initial design that would have been costly to modify after installation.”
Installation Process and Solutions
The installation followed a carefully staged approach:
Stage 1: Facility Preparation
They created a temporary wall system to separate the installation area from ongoing operations, with HEPA-filtered air supply to maintain appropriate cleanliness. Utility upgrades were completed during planned shutdown periods to minimize disruption.
Stage 2: Sequential Installation
Rather than installing both isolators simultaneously, they opted for a sequential approach. This allowed them to learn from the first installation and apply improvements to the second. The project manager told me this approach added approximately two weeks to the timeline but ultimately delivered better results.
Stage 3: Integrated Testing
They developed a comprehensive testing protocol that went beyond standard manufacturer recommendations, including simulated power failures, deliberate fault introductions, and stress testing of control systems. This identified several minor issues that were addressed before final commissioning.
Results and Key Learnings
The installation was completed approximately one week behind the original aggressive schedule but well within the overall project timeline. More importantly, both isolators passed performance qualification on the first attempt—an uncommon achievement for complex containment systems.
Key metrics achieved:
- Containment performance consistently below 0.1 μg/m³ (well below OEB5 requirements)
- System reliability of 99.3% during the first six months of operation
- No reportable safety incidents during installation or subsequent operation
- Operator acceptance scores averaging 4.7/5 on ergonomics and usability
The team identified several factors that contributed to their success:
- Thorough pre-installation planning and site assessment
- Operator involvement throughout the design and installation process
- Selecting an experienced vendor with previous installations in similar facilities
- Creating detailed protocols for every stage of installation and testing
- Implementing comprehensive training before installation completion
One particularly effective practice was conducting “day-in-the-life” simulation exercises with operators before finalizing the installation. These simulations revealed several workflow issues that were addressed through minor modifications to transfer system locations and internal configurations.
Ensuring Long-Term Performance and Compliance
Successfully installing an OEB5 isolator is a significant achievement, but maintaining its performance over time requires ongoing attention. As pharmaceutical technologies and regulatory expectations evolve, your containment strategy must adapt accordingly.
From my observations across multiple facilities, organizations that treat their OEB5 isolators as living systems rather than fixed installations achieve the best long-term results. This means regular assessment, continuous improvement, and adaptability to changing requirements.
Regular performance verification is essential—not just when regulations demand it. Establish a schedule for routine containment testing using appropriate surrogate materials. Monitor trends rather than simply confirming pass/fail criteria. Subtle degradation in performance often provides early warning of developing issues.
Integration with your facility’s overall containment strategy is crucial. The isolator should not exist as an island of protection but as part of a comprehensive approach to handling highly potent compounds. This includes considering upstream and downstream processes, waste handling, and facility design.
Technology advances continue to improve isolator capabilities. Consider periodic evaluations of whether upgrades or modifications could enhance safety or efficiency. This might include improved glove materials, better transfer systems, or more sophisticated monitoring capabilities.
Ultimately, the installation of an OEB5 isolator represents a significant investment in worker safety, product quality, and operational capability. By following a structured installation process, addressing common challenges proactively, and maintaining rigorous attention to detail, you can ensure this investment delivers value for years to come.
The journey from unboxing to successful operation may be complex, but the result—a validated, high-performance containment system—provides the foundation for safely working with the most challenging pharmaceutical compounds. As regulations evolve and potent compound development accelerates, these sophisticated containment systems will become increasingly essential in pharmaceutical manufacturing.
Frequently Asked Questions of OEB5 Isolator Installation
Q: What is an OEB5 Isolator, and why is it crucial for pharmaceutical operations?
A: An OEB5 Isolator is designed for handling highly potent compounds with an occupational exposure limit (OEL) of ≤1 µg/m³. It maintains negative pressure and uses HEPA filtration to ensure operator safety and prevent contaminant escape.
Q: What key components are essential for an effective OEB5 Isolator Installation?
A: Key components include a negative pressure system, HEPA filters for air purification, and ergonomic glove ports. Materials like stainless steel and polycarbonate are used for their chemical resistance and durability.
Q: How does the negative pressure system in OEB5 Isolators contribute to safety?
A: The negative pressure system creates a constant inward airflow, preventing hazardous particles from escaping. This, combined with HEPA filtration, ensures that even highly potent compounds are safely contained.
Q: What are the main considerations during the design and installation of an OEB5 Isolator?
A: Design considerations include material selection, ergonomic design, and integration with process equipment. Installation must ensure a leak rate not exceeding 0.05% of the isolator volume per minute at 250 Pa pressure.
Q: What maintenance and cleaning practices are recommended for OEB5 Isolators?
A: Regular cleaning using Wash-In-Place (WIP) or Clean-In-Place (CIP) systems and manual disassembly cleaning are recommended. Materials and surfaces are selected for ease of cleaning and resistance to chemicals.
Q: How do OEB5 Isolators integrate with other pharmaceutical equipment?
A: OEB5 Isolators can be integrated with various equipment such as scales, milling machines, and transfer systems. This allows for efficient processing while maintaining containment levels. APIs are safely transferred using RTP valves and A/B valves.
External Resources
QUALIA Blog: OEB5 Isolator Series – This guide provides comprehensive insights into the design, installation qualification, and operational aspects of OEB5 isolators, focusing on operator safety and containment integrity.
Senieer High Containment Sampling Isolator – Senieer offers customizable high-containment sampling isolators designed for handling OEB 5 compounds, featuring features like fully automated PLC control and Wash-In-Place (WIP) systems.
Solo Containment Packaging Line Isolator – This resource discusses Solo Containment’s packaging line isolators that meet OEB 5 standards, providing solutions for high-containment packaging operations.
3M Pharma OEB Best Practices – While not specifically focused on installation, this document outlines best practices for handling highly potent compounds, including the use of isolators for achieving OEB 5 containment levels.
EHS Guidelines for OEB 5 Compounds – Although not specifically titled “OEB5 Isolator Installation,” this resource provides essential guidance on safely managing OEB 5 compounds, including containment practices that align with isolator installations.
Cleanroom Technology for Isolators – This website offers a range of articles and insights on cleanroom technology, potentially providing valuable information on the integration of OEB 5 isolators into cleanroom environments.
Related Contents:
- The Future of Containment: OEB4 vs OEB5 Isolators
- OEB4/OEB5 Isolators for Pharma Powder Handling
- OEB4/OEB5 Glove Box Isolators: Handling Potent Compounds
- Safeguarding Operators: The Power of OEB5 Isolator Technology
- Negative Pressure OEB5 Isolators: Ultimate Guide
- Sterility Testing in OEB4/OEB5 Isolators: Best Methods
- GMP Compliance Guide for OEB4/OEB5 Isolator Usage
- Airflow Management in OEB4/OEB5 Isolators: Best Practices
- OEB4/OEB5 Isolators for Highly Potent Compound Handling

