Understanding BIBO Systems: The Foundation of Safe Containment
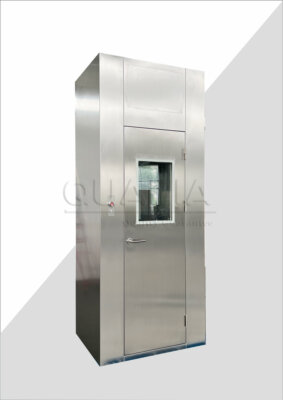
The first thing that struck me when I encountered a Bag-In-Bag-Out (BIBO) system wasn’t its complexity, but rather the elegant simplicity behind its crucial function. During a tour of a pharmaceutical manufacturing facility in Boston last year, the lead engineer paused before a sleek, stainless steel housing and said, “This right here prevents our researchers from developing respiratory conditions ten years from now.” That statement fundamentally changed how I viewed these critical containment systems.
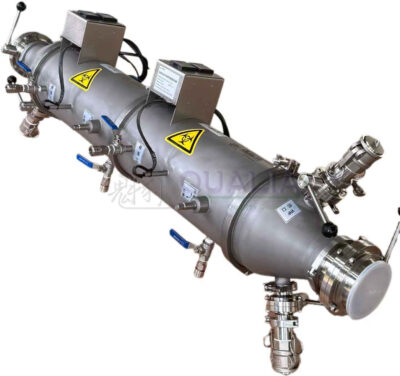
BIBO systems serve as specialized housings for air filters in environments where operator exposure to contaminants must be minimized. Unlike standard filter housings, BIBO systems allow for the safe removal and replacement of contaminated filters without exposing personnel to hazardous materials captured during filtration. This is accomplished through a unique design incorporating polymer bags that create a continuous barrier between the contaminated filter and the external environment.
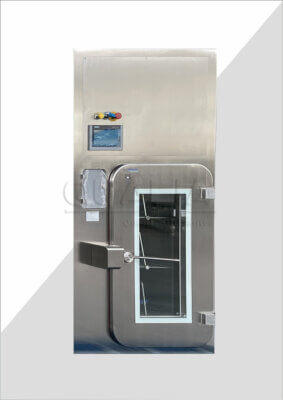
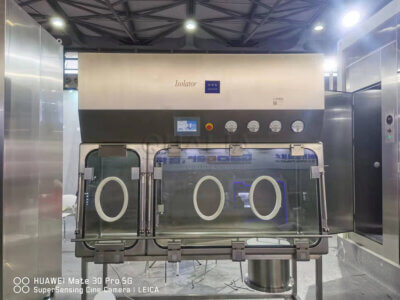
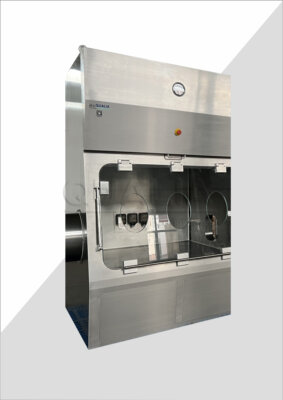
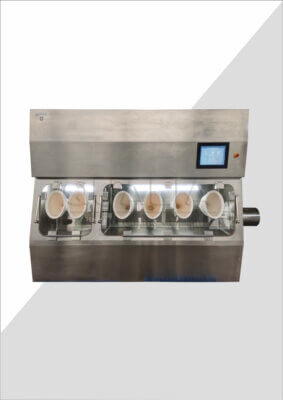
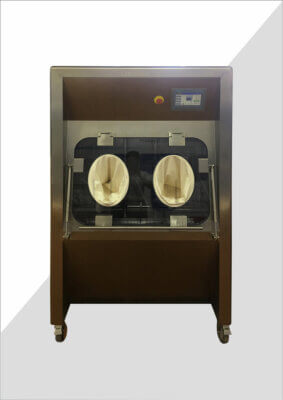
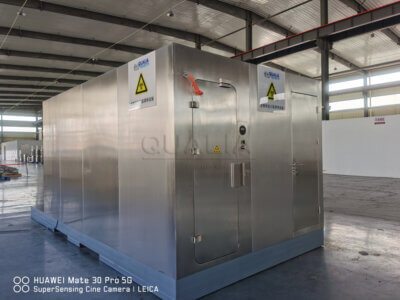
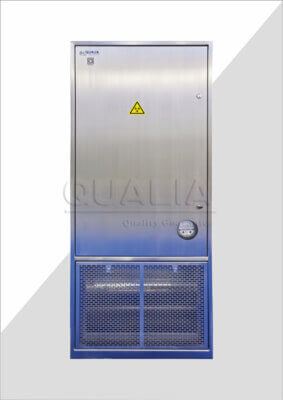
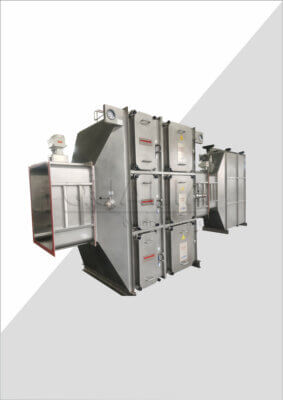
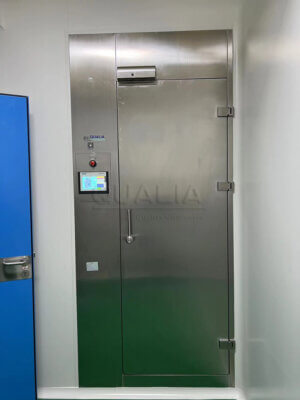
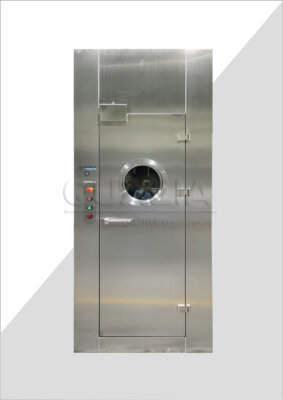
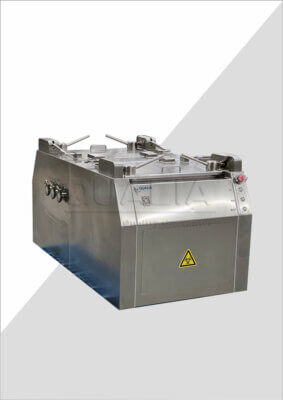
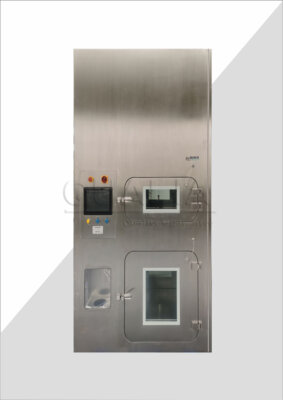
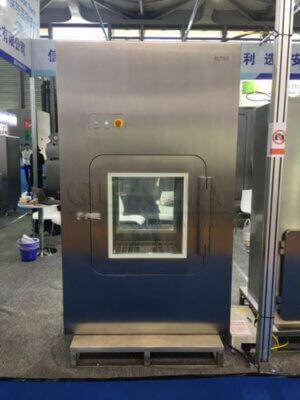
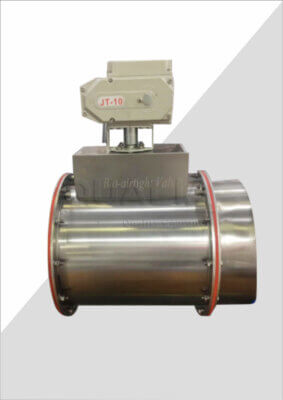
The QUALIA AirSeries BIBO housings exemplify this technology, incorporating multiple safety features designed to maintain containment integrity throughout the filter change process. These systems have become essential infrastructure in pharmaceutical manufacturing, nuclear facilities, biosafety laboratories, and other environments where airborne contaminants pose significant health risks.
What makes BIBO systems particularly valuable is their dual-purpose functionality. They not only protect personnel during normal operation by filtering hazardous particles from the air but also maintain this protection during maintenance operations when filters—now loaded with concentrated contaminants—must be replaced. This represents a critical control point in contamination management that conventional filter systems simply cannot address.
While researching this topic, I spoke with Dr. Eleanor Hayes, a biosafety officer with 15 years of experience in BSL-3 laboratories. “The installation phase establishes the foundation for a BIBO system’s entire operational life,” she emphasized. “A perfectly designed system can fail catastrophically if installation compromises its integrity, potentially exposing personnel to the very hazards it’s meant to contain.”
This insight underscores why a comprehensive BIBO system installation guide is essential for facilities implementing these systems for the first time. The consequences of improper installation extend beyond regulatory non-compliance—they directly impact personnel safety and product integrity.
Pre-Installation Preparation: Setting the Stage for Success
The morning of my first BIBO installation project began not with tools or equipment, but with a surprisingly detailed site assessment meeting. The installation team lead pulled out a thick binder of specifications and said, “We won’t turn a single screw until we’ve verified every measurement in this room.” That meticulousness might seem excessive until you understand the consequences of spatial miscalculations with these systems.
Before any physical installation work begins, a thorough site assessment is critical. This should include:
| Assessment Category | Key Considerations | Documentation Needed |
|---|---|---|
| Spatial Requirements | • Minimum clearances for bag-out operations (typically 36″ minimum in front of unit) • Ceiling height constraints • Access pathways for installation and future maintenance | • Facility floor plans • Measured site diagrams • Photographic documentation |
| Structural Support | • Floor or wall load capacity • Existing support structures • Need for additional reinforcement | • Structural engineering assessment • Building specifications |
| HVAC Integration | • Connection points to existing ductwork • Pressure differential requirements • Airflow patterns and volume requirements | • HVAC system diagrams • Pressure zone mapping • Airflow calculations |
| Utilities Access | • Power requirements for monitoring systems • Compressed air needs (if applicable) • Lighting requirements for maintenance | • Electrical plans • Utility access points documentation |
Additionally, several safety considerations must be addressed before installation begins. These include defining containment measures during the installation process, establishing decontamination protocols for tools and equipment, and identifying emergency procedures specific to the installation environment.
The tool requirements for BIBO system installation extend beyond standard construction equipment. Specialized tools for air leak testing, pressure differential measurement, and precise alignment will be necessary. Many installations also require clean room protocols for tools, meaning dedicated sets that are appropriately sanitized.
One often overlooked aspect of pre-installation planning is the regulatory framework governing your specific application. Mark Thornton, an HVAC systems engineer I consulted with, emphasized this point: “Different applications—pharmaceutical, nuclear, biosafety—all have distinct regulatory requirements that impact installation parameters. Knowing these before you start prevents costly rework later.”
During this preparation phase, it’s worth investing time in personnel training. Even if a specialized team handles the actual installation, facility staff should understand basic BIBO system operation and safety protocols. This knowledge transfer ensures smoother operation post-installation and builds institutional knowledge about critical containment systems.
The environmental conditions during installation also demand consideration. Temperature and humidity can affect sealant curing times and gasket performance. I’ve seen installations delayed for days because environmental conditions weren’t suitable for critical sealing operations—a situation easily avoided with proper planning.
Creating a detailed pre-installation checklist tailored to your specific BIBO system model and facility requirements will serve as an invaluable reference throughout the process. This level of preparation might seem excessive, but when dealing with systems designed for hazardous containment, thoroughness during planning directly translates to safety during operation.
Step-by-Step Installation Process: From Delivery to Operational Readiness
The delivery of our first QUALIA AirSeries BIBO housing created a moment of tension in our loading dock. “That crate is bigger than we anticipated,” muttered our facilities manager. This experience taught me an important lesson: the installation process begins well before the actual mounting of the unit.
Receiving and Inspection
When your BIBO system arrives, conduct a thorough inspection before accepting delivery. Document any shipping damage with photographs. The crating for these systems is typically substantial, designed to protect precision components during transport. Verify that all components listed on the packing slip are present, including:
- Main housing unit(s)
- Filter sealing mechanisms
- Change-out bags and required quantity
- Mounting hardware
- Pressure gauges and monitoring equipment
- Installation and operation manuals
Check that the model received matches specifications for your application, particularly regarding dimensions, filter compatibility, and pressure ratings.
Site Preparation
With the system on-site, final preparation of the installation location begins:
- Ensure all construction in the installation area is complete to prevent contamination from building materials
- Clean the installation area thoroughly to remove particulates
- Verify that support structures are in place and meet load requirements
- Confirm that any required electrical connections are available and appropriately rated
- Establish a clean staging area for unpacking components
- Create containment barriers if installing in an operational environment
Unpacking and Positioning
The unpacking process requires care to avoid damage to sealing surfaces. Many BIBO housings feature precision-machined knife edges or gasket surfaces that are essential for containment integrity. Follow these steps:
- Remove external crating in a designated area away from the final installation location
- Inspect all components again for damage that may have been hidden by crating
- Use appropriate lifting equipment rated for the housing weight
- Transport the housing to the installation location using proper handling techniques
- Position the housing according to the pre-established layout, paying careful attention to clearance requirements
Mounting and Connection
Secure mounting is critical for BIBO system performance. The housing must remain stable during filter change operations when operators apply force during bag manipulation. The typical sequence includes:
- Level the housing using precision measurement tools
- Secure the housing to the supporting structure using specified fasteners
- Apply appropriate thread-locking compounds to prevent vibration loosening
- Torque fasteners to manufacturer’s specifications using calibrated tools
- Connect ductwork using appropriate gasketing and sealing methods
- Install any vibration isolation required between the housing and connected ductwork
One common mistake I’ve witnessed is improper duct connection that creates turbulence at the housing intake. This can dramatically reduce filter life and system efficiency. Proper transition sections with adequate straight runs are essential for optimal performance.
Filter Installation
Installing the initial filters requires careful attention to proper seating and sealing:
- Inspect filter gasket surfaces for damage or contamination
- Prepare change-out bags according to manufacturer instructions
- Install filters following the specific procedure for your BIBO housing model
- Verify proper filter seating using visual inspection and mechanical checks
- Secure filter clamping mechanisms to specified torque or pressure
- Properly store bag material for future change-out operations
During my discussion with Sarah Zhang, a containment systems specialist, she emphasized a critical point: “The initial filter installation establishes the baseline integrity of the entire system. Many operators rush this step because the filters appear clean and non-hazardous, but improper seating will compromise every operation that follows.”
Control System Integration
Modern BIBO systems often include monitoring capabilities that must be integrated with facility systems:
- Connect differential pressure monitors according to manufacturer specifications
- Calibrate pressure gauges and sensors
- Integrate alarm signals with building management systems if applicable
- Document setpoints and acceptable operating ranges
- Verify proper signal transmission to monitoring stations
Initial System Testing
Before the system can be considered operational, comprehensive testing is required:
- Perform visual inspection of all seals and connections
- Conduct initial pressure drop testing across filters
- Verify proper airflow using calibrated instruments
- Check for leaks around all housing penetrations and seams
- Document all testing results for future reference and compliance
This detailed approach to installation creates the foundation for years of reliable operation. The process requires patience and precision, but cutting corners during this critical phase inevitably leads to containment failures, reduced system life, and potentially hazardous conditions for operators.
Testing and Validation: Ensuring Containment Integrity
The tension in the room was palpable as we prepared for the aerosol challenge test on our newly installed BIBO system. The validation specialist, dressed in full PPE, carefully prepared the PAO (Poly-Alpha Olefin) generator while explaining, “This is where we find out if your installation actually works.” That moment crystallized for me how critical proper testing is—it’s not just a procedural checkbox but the verification of a safety system that people’s health depends on.
Comprehensive testing of a BIBO system involves multiple validation methods, each addressing different aspects of system performance and integrity. The testing program should include:
Pressure Decay Testing
This fundamental test verifies the overall integrity of the housing:
- Seal all housing openings according to manufacturer specifications
- Pressurize the housing to a specified test pressure using clean, dry air
- Monitor pressure over a predetermined time period (typically 15-30 minutes)
- Calculate allowable pressure drop based on housing volume and acceptance criteria
- Document test results including initial pressure, final pressure, test duration, and ambient conditions
Pressure decay testing provides quantitative data about the overall leakage rate of the housing but doesn’t identify specific leak locations. It serves as an excellent first-pass verification of general integrity.
HEPA Filter Integrity Testing
For systems using HEPA filtration, aerosol challenge testing is essential:
| Test Parameter | Specification | Acceptance Criteria |
|---|---|---|
| Challenge Agent | PAO or equivalent | Uniform upstream concentration |
| Particle Size | 0.3-0.5 μm | Generated per IEST-RP-CC034 |
| Sampling Method | Photometer | Calibrated for specific challenge agent |
| Upstream Concentration | 10-100 μg/L | Stable throughout test period |
| Scan Rate | 1-2 inches per second | Complete coverage of filter face |
| Leak Definition | Varies by application | Typically >0.01% of upstream concentration |
This test introduces a challenge aerosol upstream of the filter and scans the downstream face and sealing areas to detect penetration. It’s particularly important for BIBO systems since their primary function is containment of hazardous particles.
Dr. Hayes, whom I mentioned earlier, shared an important insight about this testing: “Many facilities test only the filter itself, overlooking potential bypass leaks around the sealing mechanism or through housing penetrations. A comprehensive scan should include all potential leakage paths, not just the filter media.”
Bag-In-Bag-Out Procedure Verification
Perhaps the most unique aspect of BIBO system validation is verifying the actual change-out procedure:
- Perform a simulated filter change-out following the exact procedure that will be used during actual maintenance
- Use a harmless tracer material (fluorescent powder or similar) on the “contaminated” filter
- After completing the change-out procedure, inspect the operator, surrounding area, and new filter for tracer contamination
- Document any procedural issues or containment breaches
- Revise procedures based on findings
This practical test identifies procedural weaknesses before hazardous materials are involved and serves as excellent training for maintenance personnel.
Airflow Performance Testing
Proper system function requires verification of design airflow parameters:
- Measure airflow velocity and volume using calibrated instruments
- Verify that airflow meets specified requirements for the application
- Document air changes per hour if applicable to the installation environment
- Measure and record initial pressure drop across clean filters as a baseline for future reference
- Confirm that airflow patterns in the installation area haven’t been negatively impacted
Documentation and Certification
The final step in validation is comprehensive documentation:
- Compile all test results, measurements, and observations
- Compare results to acceptance criteria and applicable standards
- Document any deviations and corrective actions taken
- Generate formal certification documentation if required by regulations
- Establish baseline performance data for future comparative testing
Testing and validation might seem tedious, especially after the effort of installation, but they represent the critical verification that your BIBO system installation has achieved its intended purpose. As the validation specialist told me that day, “You’re not buying a filter housing; you’re buying containment assurance. This testing is how we prove you got what you paid for.”
Common Installation Challenges an
Frequently Asked Questions of BIBO System Installation Guide
Q: What are the basic steps for installing a BIBO system?
A: Installing a BIBO system involves several key steps. First, ensure you have a nearby mains cold water supply. Then, isolate the water supply by turning off the angle stop valve. Next, connect the BIBO “T” connector to the mains pipe and attach the water supply pipe to the BIBO unit. Finally, plug in the power and follow the on-screen prompts to complete the setup.
Q: How long does it typically take to install a BIBO system?
A: The installation of a BIBO system usually takes between one hour to an hour and a half. This timeframe can vary depending on your familiarity with plumbing and electrical connections.
Q: What precautions should I take when handling the BIBO system during installation?
A: When installing your BIBO system, be cautious with the weight of the unit, as it can be heavy. Also, ensure the water inlet pipe is not bent or damaged, and keep the BIBO away from heat sources and children.
Q: Do I need professional help to install my BIBO system?
A: While professional help is recommended, especially if you’re unsure about plumbing or electrical connections, the BIBO system comes with a self-installation kit. If you’re comfortable with DIY projects, you can follow the provided instructions carefully.
Q: How do I ensure my BIBO system is working correctly after installation?
A: After installation, plug in the BIBO and turn it on. The system will display a logo and perform a zapper test. Once you see the home screen, turn on the hot tank switch and follow the prompts to fill the tank. Dispense water to test the system’s functionality.
Q: What maintenance is required for my newly installed BIBO system?
A: Regular maintenance for your BIBO system includes descaling and replacing the zapper as needed. It’s also recommended to drain a small amount of water from both the cold and hot tanks before use to ensure purity.
External Resources
- BIBO Bar Installation Guide – This guide provides a step-by-step process for installing a BIBO bar, including water supply connections and setting up the system.
- BIBO Express User Manual – While not specifically titled as an installation guide, this manual includes detailed instructions for setting up and installing a BIBO Express system.
- BIBO Classic Installation Instructions – Offers comprehensive instructions for self-installing a BIBO Classic system, focusing on water supply connections and safety tips.
- BIBO Bar Installation Instructions – Provides detailed steps for installing a BIBO Bar, including preparation, water supply setup, and safety considerations.
Related Contents:
- 7 Essential Steps for Proper BIBO Procedure
- How to Replace HEPA Filters Using BIBO Technique
- Bag-In-Bag-Out Housing Systems – ISO 14644 Compliant Filtration Specifications
- What is a BIBO Housing? Key Features Explained
- BIBO vs. Open Filter Change: Which is Safer?
- Bag-In-Bag-Out Housing Applications in Pharmaceutical Manufacturing
- BIBO Solutions for Pharmaceutical Manufacturing
- Boost Productivity with BIBO: Efficiency Gains
- 5 Critical Safety Benefits of Bag In Bag Out

