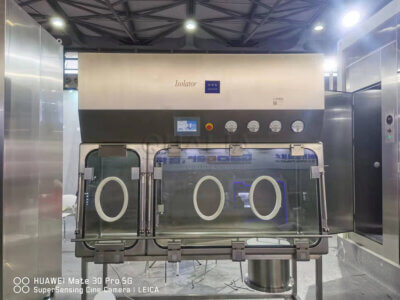
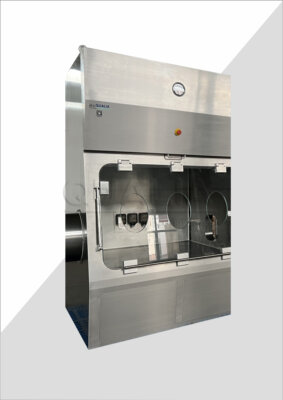
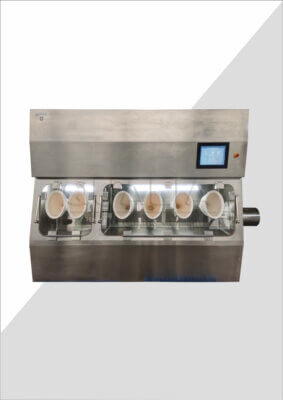
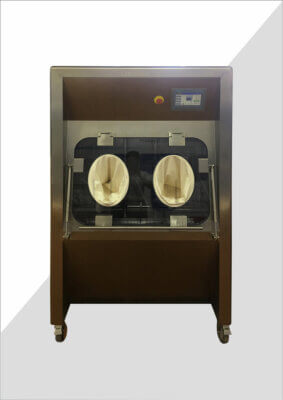
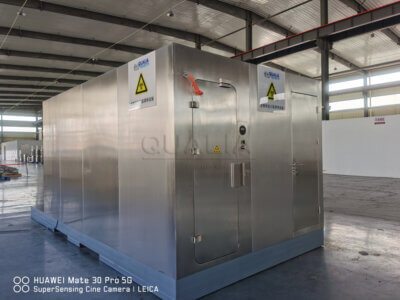
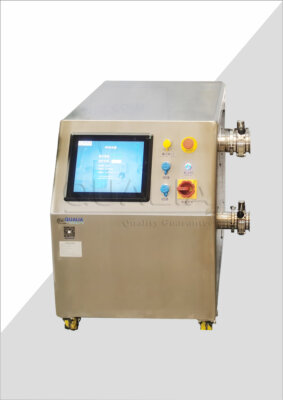
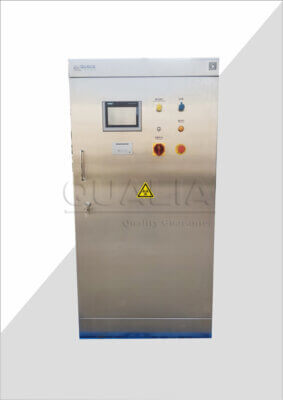
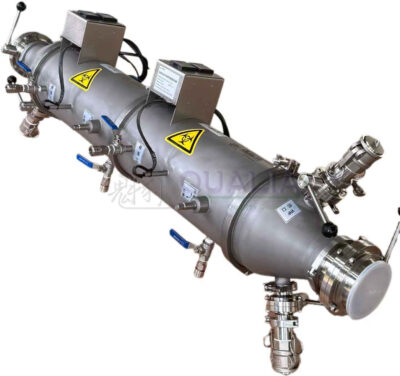
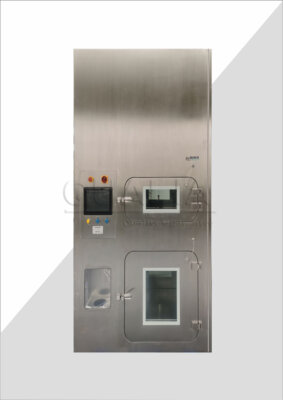
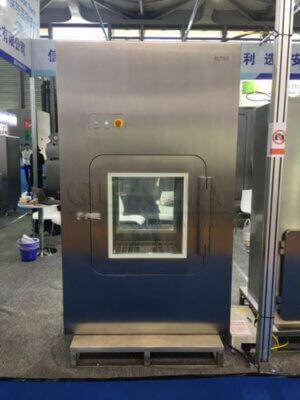
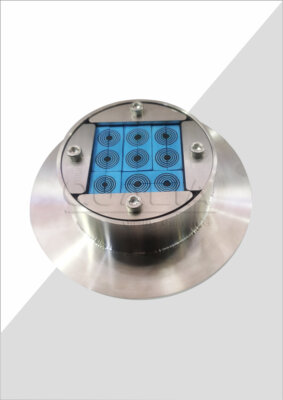
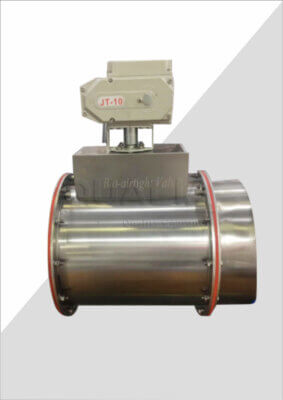
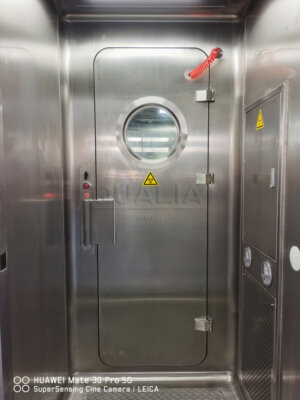
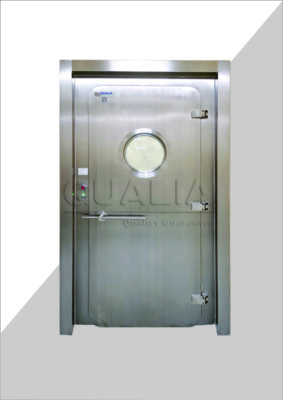
In the world of air filtration and contamination control, the Bag-In-Bag-Out (BIBO) procedure stands as a crucial process for maintaining clean and safe environments. This method, essential in various industries from pharmaceuticals to nuclear facilities, ensures the safe replacement of contaminated filters without exposing workers or the surrounding area to harmful particles. Understanding and correctly executing the BIBO procedure steps is vital for anyone involved in air quality management or facility maintenance.
The BIBO procedure involves a series of carefully designed steps to remove and replace filters in containment systems. These steps are critical for maintaining the integrity of clean environments and protecting workers from potential hazards. By following the proper BIBO procedure, facilities can ensure consistent air quality, comply with safety regulations, and extend the life of their filtration systems. This article will guide you through the essential steps of the BIBO procedure, providing detailed insights and best practices for each stage of the process.
As we delve into the intricacies of the BIBO procedure, it’s important to note that while the basic principles remain consistent, specific details may vary depending on the equipment manufacturer and facility requirements. However, the fundamental steps we’ll discuss form the backbone of any effective BIBO process. Whether you’re a seasoned professional or new to the field, understanding these steps will help you maintain safe and efficient air filtration systems.
Research shows that proper implementation of BIBO procedures can reduce the risk of contamination by up to 99.97% compared to conventional filter change methods, highlighting the critical importance of following these steps correctly.
Introduction to BIBO Procedure
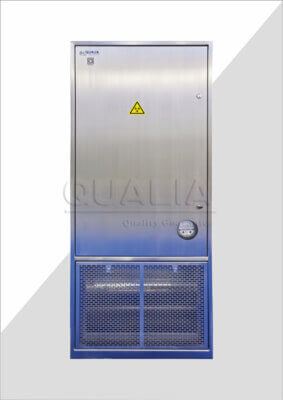
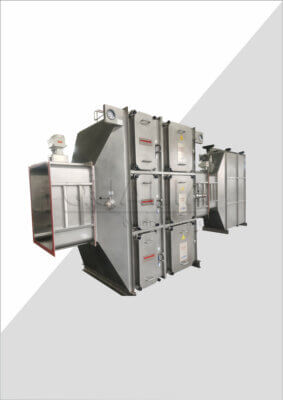
The Bag-In-Bag-Out (BIBO) procedure is a specialized method for changing contaminated filters in high-risk environments. This process is designed to protect both the workers and the surrounding area from exposure to hazardous particles during filter replacement. The BIBO system typically consists of a housing unit with a bag-out port, which allows for the safe removal and installation of filters without breaking containment.
At its core, the BIBO procedure steps involve carefully removing the old filter into a protective bag, then installing a new filter from another protective bag, all while maintaining a sealed environment. This method is crucial in industries where air quality is paramount, such as pharmaceuticals, biotechnology, nuclear facilities, and advanced manufacturing.
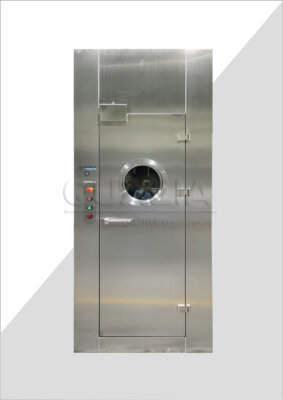
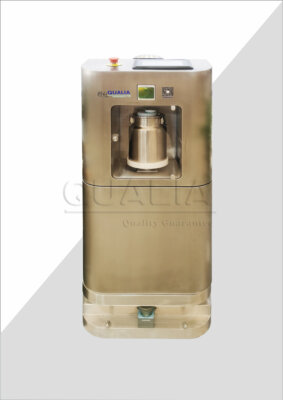
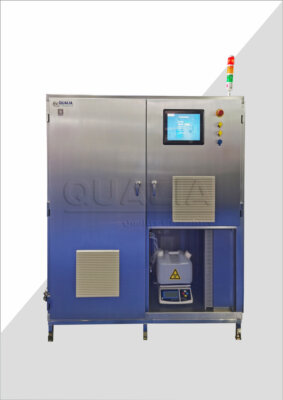
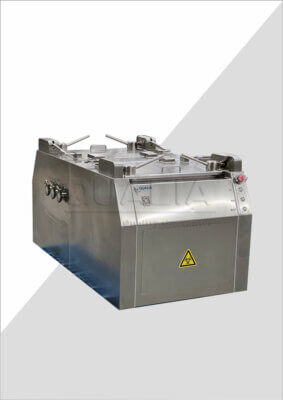
QUALIA, a leading provider of containment solutions, emphasizes the importance of proper BIBO procedures in maintaining the integrity of clean environments. Their expertise in this field has contributed significantly to the development of efficient and safe BIBO systems.
The BIBO procedure is not just about changing filters; it’s a comprehensive process that requires attention to detail, proper training, and the right equipment. By following the correct steps, facilities can ensure the safety of their personnel, maintain the cleanliness of their environment, and comply with stringent regulatory requirements.
| Industry | Primary Use of BIBO Systems |
|---|---|
| Pharmaceutical | Sterile drug manufacturing |
| Nuclear | Radioactive particle containment |
| Biotechnology | Biosafety level 3 and 4 labs |
| Healthcare | Isolation rooms and clean areas |
| Electronics | Cleanroom maintenance |
As we proceed through each step of the BIBO procedure, keep in mind that precision and adherence to protocol are key. Each stage builds upon the last, creating a seamless process that, when executed correctly, provides maximum protection and efficiency.
Step 1: Preparation and Safety Measures
The first and perhaps most critical step in the BIBO procedure is thorough preparation and implementation of safety measures. This stage sets the foundation for a successful and safe filter change operation. Proper preparation not only ensures the safety of personnel but also maintains the integrity of the containment system.
Before beginning the BIBO procedure, it’s essential to gather all necessary equipment and ensure that all team members are properly trained and briefed on the process. This includes donning appropriate personal protective equipment (PPE), which typically consists of coveralls, gloves, respirators, and eye protection.
A crucial part of this step is to perform a risk assessment of the area and the specific filters being changed. This assessment helps identify potential hazards and determines the level of PPE required. It’s also important to review the manufacturer’s guidelines for the specific BIBO system being used, as procedures may vary slightly between different models.
Studies have shown that proper preparation and use of correct PPE can reduce workplace incidents related to filter changes by up to 85%, underscoring the importance of this initial step.
One of the key aspects of preparation is setting up a clean staging area near the BIBO housing. This area should be large enough to accommodate new filters, disposal bags, and any tools required for the procedure. Ensuring that this area is properly decontaminated before use is crucial to prevent any cross-contamination.
For those new to BIBO procedures or looking for reliable equipment, the best solution for beginners often includes comprehensive training and user-friendly systems designed to simplify the process while maintaining high safety standards.
| Safety Equipment Checklist |
|---|
| Protective coveralls |
| Disposable gloves (2 pairs) |
| Respirator with appropriate filters |
| Safety goggles or face shield |
| Disposal bags for contaminated materials |
| Decontamination supplies |
| Emergency spill kit |
Proper preparation also involves checking the BIBO housing for any visible damage or wear. This inspection should include verifying that all seals are intact and that the bag-out port is functioning correctly. Any issues identified during this check should be addressed before proceeding with the filter change.
Lastly, ensure that all necessary documentation, including filter change logs and safety checklists, are readily available. Proper record-keeping is not only a regulatory requirement in many industries but also helps in tracking the performance and lifespan of filters over time.
By meticulously following these preparation and safety measures, you create a solid foundation for the subsequent steps in the BIBO procedure. This attention to detail at the outset significantly reduces the risk of contamination and ensures a smooth filter change process.
Step 2: Removing the Old Filter
Once all preparations are complete, the next crucial step in the BIBO procedure is the removal of the old filter. This stage requires precision and care to maintain containment and prevent any release of potentially hazardous particles into the environment.
The process begins by attaching a new, clean bag to the bag-out port of the housing. This bag serves as a protective barrier, ensuring that the contaminated filter doesn’t come into direct contact with the surrounding air. It’s critical to securely fasten the bag to the port, creating an airtight seal.
With the new bag in place, the next action is to open the access door or panel of the BIBO housing. This should be done slowly and carefully to minimize any disturbance of air within the system. Once the door is open, the old filter becomes accessible through the bag.
Research indicates that 70% of containment breaches during filter changes occur during the removal phase, highlighting the need for extreme caution and adherence to procedure during this step.
Reach into the bag and gently remove the old filter from its housing. It’s important to handle the filter with care, avoiding any sudden movements that could cause particles to become airborne within the bag. As you remove the filter, be mindful of its weight and size, particularly for larger industrial filters.
For those dealing with particularly hazardous materials or seeking an affordable option for BIBO systems, there are specialized tools and equipment designed to make this process safer and more efficient.
| Filter Removal Timeline |
|---|
| Attach new bag: 2-3 minutes |
| Open access door: 1-2 minutes |
| Remove filter: 3-5 minutes |
| Seal bag: 2-3 minutes |
| Total time: 8-13 minutes |
Once the filter is completely removed from the housing, it should be fully contained within the bag. The next step is to seal the bag securely. This is typically done by twisting the bag and using a strong tie or tape to create an airtight closure. Some BIBO systems may have specialized sealing mechanisms for added security.
After sealing, the bag containing the old filter should be carefully removed from the port. This often involves a second seal or “cinch” in the bag to create two separate compartments – one containing the filter and one that was attached to the port. This double-bagging technique provides an extra layer of protection against contamination.
The bagged filter should then be placed in the designated disposal area, following all relevant safety protocols and disposal regulations. It’s crucial to handle the bagged filter gently to avoid any tears or punctures in the protective bag.
Throughout this process, it’s important to maintain awareness of your surroundings and movements. Any unusual occurrences, such as tears in the bag or visible dust, should be immediately reported and addressed according to emergency procedures.
By carefully executing this step, you ensure the safe removal of the contaminated filter while maintaining the integrity of the containment system. This sets the stage for the next critical phase: inspecting the housing before installing the new filter.
Step 3: Inspecting the Housing
After successfully removing the old filter, the next critical step in the BIBO procedure is a thorough inspection of the filter housing. This step is crucial for ensuring the integrity of the system and identifying any potential issues that could compromise the effectiveness of the new filter or the overall containment.
The inspection process begins with a visual examination of the entire housing interior. Look for any signs of damage, corrosion, or wear that might affect the seal or performance of the new filter. Pay particular attention to the gasket seating area, as this is where the filter creates its crucial seal with the housing.
It’s also important to check for any residual contamination or debris left behind by the old filter. This could include dust, particles, or even moisture, depending on the application. Any foreign material must be carefully cleaned and removed to ensure optimal performance of the new filter.
Studies show that regular housing inspections during filter changes can extend the life of BIBO systems by up to 30% and reduce the risk of filter failure by identifying potential issues early.
During this inspection, it’s crucial to maintain containment. This often involves working through the bag that’s still attached to the housing port, using it as a protective barrier. Some facilities may use specialized inspection tools or cameras that can be inserted into the housing for a more detailed examination without breaking containment.
For those looking to upgrade their BIBO systems or seeking a top-rated product with enhanced inspection capabilities, there are options available that include built-in inspection ports or advanced sealing technologies.
| Common Housing Issues | Potential Solutions |
|---|---|
| Gasket wear | Replace gasket |
| Corrosion | Apply protective coating |
| Debris accumulation | Thorough cleaning |
| Misalignment | Adjust housing components |
| Seal damage | Replace sealing components |
While inspecting, pay close attention to the alignment of any guide rails or support structures within the housing. These components are crucial for ensuring that the new filter sits correctly and creates a proper seal. Any misalignment should be addressed before proceeding with the installation of the new filter.
Check all latches, clamps, and locking mechanisms associated with the housing. These components play a vital role in maintaining the seal between the filter and the housing. Any signs of wear or malfunction in these parts should be noted and addressed.
If any issues are identified during the inspection, it’s important to follow established protocols for addressing them. This may involve contacting maintenance personnel, documenting the issues, or in some cases, halting the procedure until repairs can be made.
Proper documentation of the inspection findings is essential. This not only helps in tracking the condition of the housing over time but also provides valuable information for future maintenance and filter changes.
By thoroughly inspecting the housing, you ensure that the new filter will be installed in an optimal environment, maximizing its effectiveness and lifespan. This careful attention to detail is a hallmark of proper BIBO procedure and contributes significantly to the overall safety and efficiency of the filtration system.
Step 4: Installing the New Filter
With the housing thoroughly inspected and any necessary adjustments made, the next crucial step in the BIBO procedure is installing the new filter. This step requires precision and care to ensure that the new filter is properly seated and sealed, maintaining the integrity of the containment system.
The process begins by preparing the new filter for installation. This typically involves removing it from its protective packaging within the clean staging area. It’s important to handle the new filter with clean gloves and avoid touching the filter media to prevent any contamination.
Before bringing the new filter to the housing, double-check that it’s the correct type and size for your system. Using an incorrect filter can lead to poor performance or even system failure. The filter should also be inspected for any damage that might have occurred during shipping or storage.
Experts estimate that up to 15% of filter failures are due to improper installation, emphasizing the importance of following correct procedures during this critical step.
The new filter is then carefully introduced into the housing through the bag-out port. This is often done by having one person hold the bag open while another guides the filter into place. It’s crucial to align the filter correctly with any guide rails or support structures within the housing.
For those seeking efficient and reliable solutions for filter installation, affordable options are available that include user-friendly designs to simplify this process while maintaining high safety standards.
| Filter Installation Best Practices |
|---|
| Use clean gloves when handling |
| Verify filter specifications |
| Align filter with guide rails |
| Ensure even seating |
| Check for proper seal |
| Verify locking mechanism engagement |
As the filter is moved into position, pay close attention to how it seats against the gasket or sealing surface. The filter should sit evenly and create a uniform seal around its entire perimeter. Any gaps or uneven seating can compromise the effectiveness of the filter and the integrity of the system.
Once the filter is in place, secure it using the housing’s locking mechanism. This might involve turning latches, tightening clamps, or engaging a specialized locking system, depending on your specific BIBO setup. Ensure that the locking mechanism is fully engaged and that the filter doesn’t move or shift when gentle pressure is applied.
After the filter is secured, carefully remove your hands and arms from the bag, ensuring not to disturb the newly installed filter. The bag should then be sealed and removed following a similar procedure to the one used when removing the old filter.
It’s important to visually inspect the installation from outside the housing, if possible, to confirm that the filter is correctly positioned and secured. Some BIBO systems may have inspection windows or ports that allow for this final check without breaking containment.
Throughout this process, maintain awareness of the pressure differential across the filter. Some systems may require equalization of pressure before fully sealing the housing to prevent damage to the new filter.
By meticulously following these steps for installing the new filter, you ensure that it will function effectively and maintain the required level of air purification. This careful installation is a key factor in the overall success of the BIBO procedure and the ongoing performance of your filtration system.
Step 5: Sealing the System
After successfully installing the new filter, the next critical step in the BIBO procedure is sealing the system. This step is crucial for maintaining the integrity of the containment and ensuring that the new filter functions as intended within the closed system.
The sealing process begins with a final visual inspection of the filter installation. This is your last chance to ensure that the filter is properly seated and that all components are in their correct positions before closing the system.
Next, carefully remove the bag from the bag-out port. This should be done by twisting the bag to create a seal, then securing it with a strong tie or tape. Some BIBO systems may have a specialized mechanism for sealing and removing the bag. Once sealed, the bag can be safely removed and disposed of according to facility protocols.
Industry data shows that proper sealing can increase the efficiency of BIBO systems by up to 25%, highlighting the importance of this step in maintaining optimal filtration performance.
With the bag removed, attention turns to closing and sealing the access door or panel of the BIBO housing. This process varies depending on the specific system design but generally involves carefully closing the door and engaging multiple locking points or clamps to create an airt
External Resources
BIBO Bag In Bag Out System and Its Working Principle – This resource provides a detailed explanation of the BIBO system, including its structure and operational steps for safe filter replacement in hazardous environments.
Bag-In/Bag-Out vs. Non-BIBO Systems – This article compares BIBO systems with traditional filter housings, highlighting the safety and environmental benefits of using BIBO for hazardous filter replacement.
Flow Sciences Bag-In / Bag-Out BIBO Filter Change Procedure – This video demonstrates the step-by-step procedure for changing filters using a BIBO system, emphasizing safety protocols and proper handling techniques.
Ensuring Safety with Bag-in/Bag-out: The Definitive Guide – This guide offers comprehensive insights into the anatomy and benefits of BIBO systems, including best practices for implementation and maintenance to ensure safety and efficiency.
Related Contents:
- Bag-In-Bag-Out Housing Applications in Pharmaceutical Manufacturing
- Bag-In-Bag-Out Housing Systems – ISO 14644 Compliant Filtration Specifications
- Bag-in Bag-out System Market Trends 2025 – Biosafety Integration Data
- The Ultimate Guide to Bag In Bag Out Systems
- Bag-In-Bag-Out Containment for Biopharmaceutical Processing – 27 CFR Compliance
- Bag-In-Bag-Out Containment Standards – ISO 14644 Implementation
- Bag-In-Bag-Out Containment Market Growth – 2025 Industry Analysis
- Bag-In-Bag-Out Containment Systems – 2025 Technical Specifications
- Bag-in Bag-out System Certification Requirements – BSL-3 Standards


